When we were considering whether to renovate, I remembered that Adrianna at A Cozy Kitchen had a great experience partnering with KitchenAid, and reached out with all fingers crossed to see if KitchenAid might be interested in collaborating here, too. Imagine my delight when the team said yes! It’s been one of my dream brands for such a long time, from the iconic Stand Mixer to the refrigerators and ranges, that I’m overjoyed to have KitchenAid appliances as the cornerstones in my new kitchen.
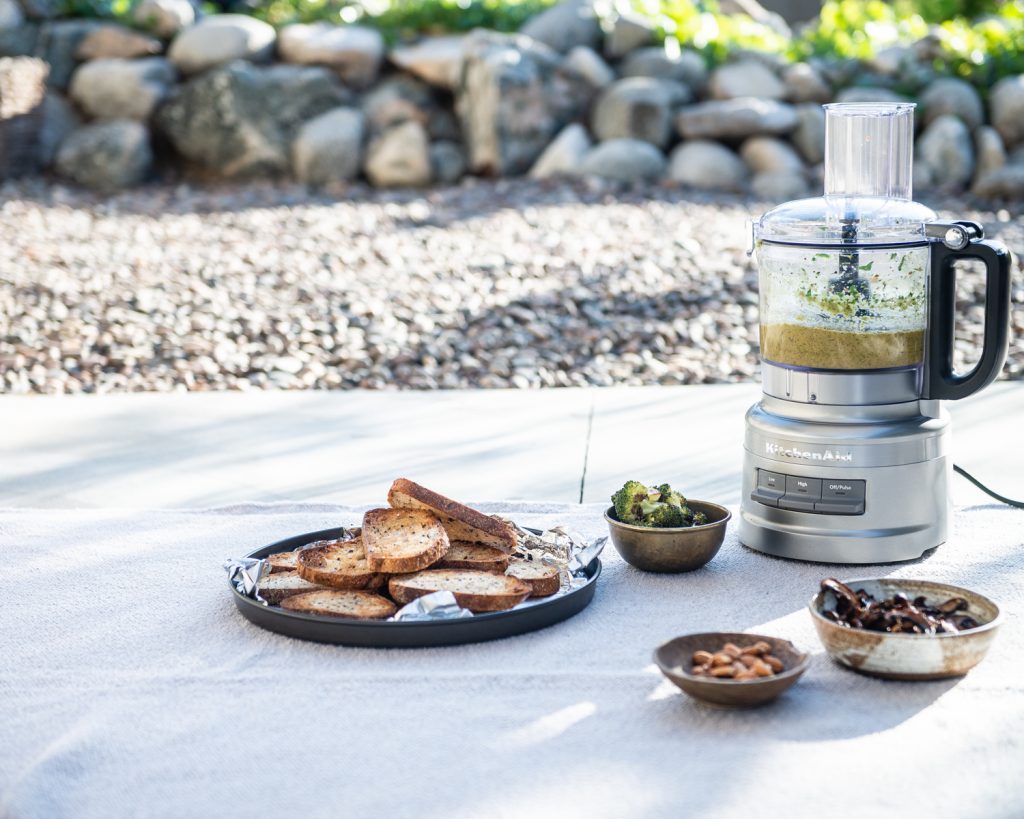
Since we’re deep in renovations for the time being, I thought I’d experiment with a few KitchenAid small appliances in the meantime. In particular, I’ve been using the KitchenAid 7 Cup Food Processor, which puts my tiny old one to shame, and a countertop oven that is perfect for quick cooking needs. I’m already excited to use it on hot summer days when I don’t want to heat up the house.
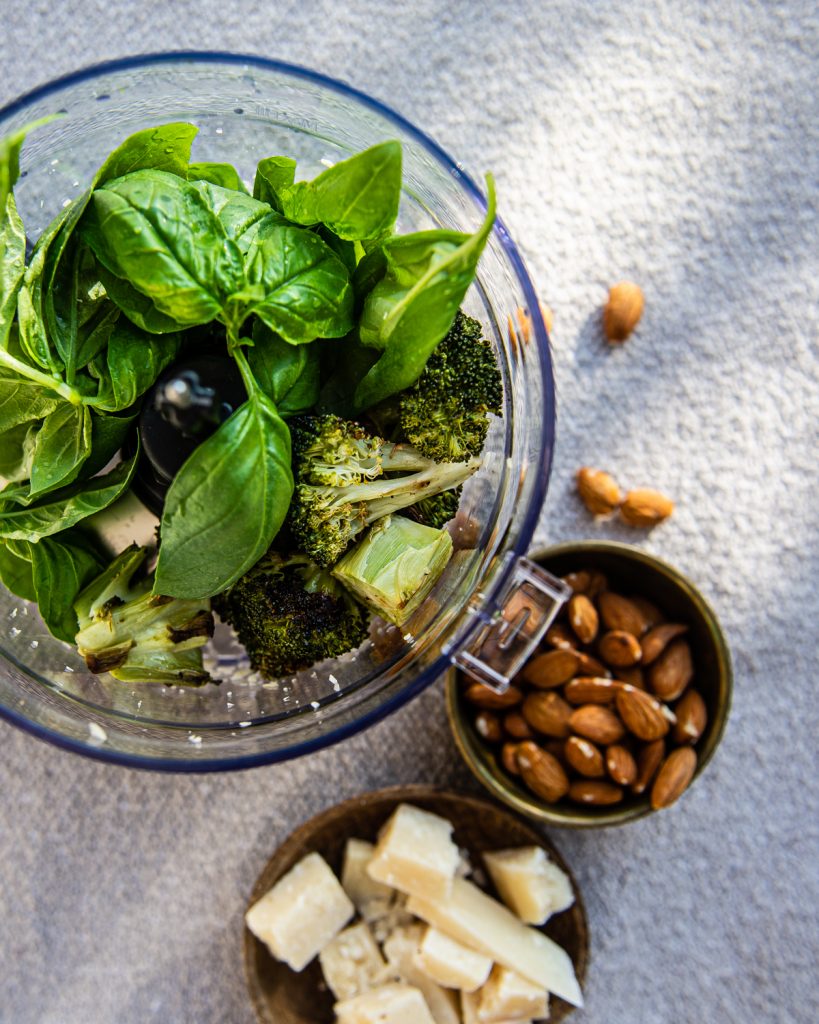
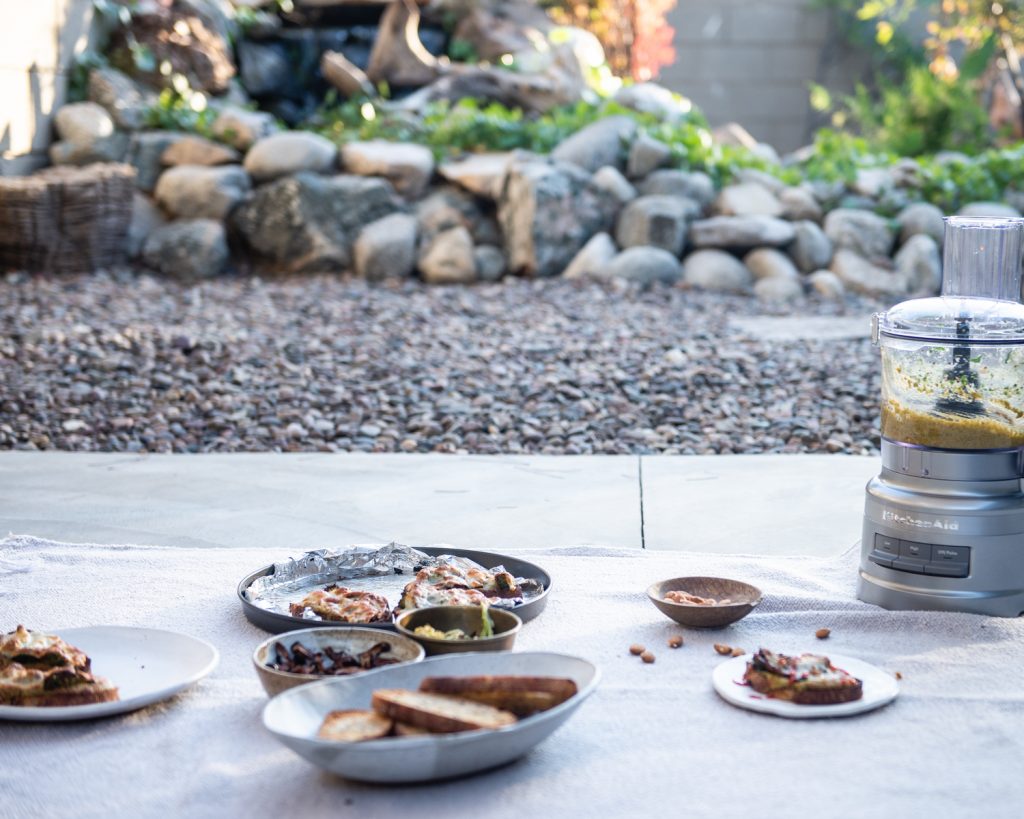
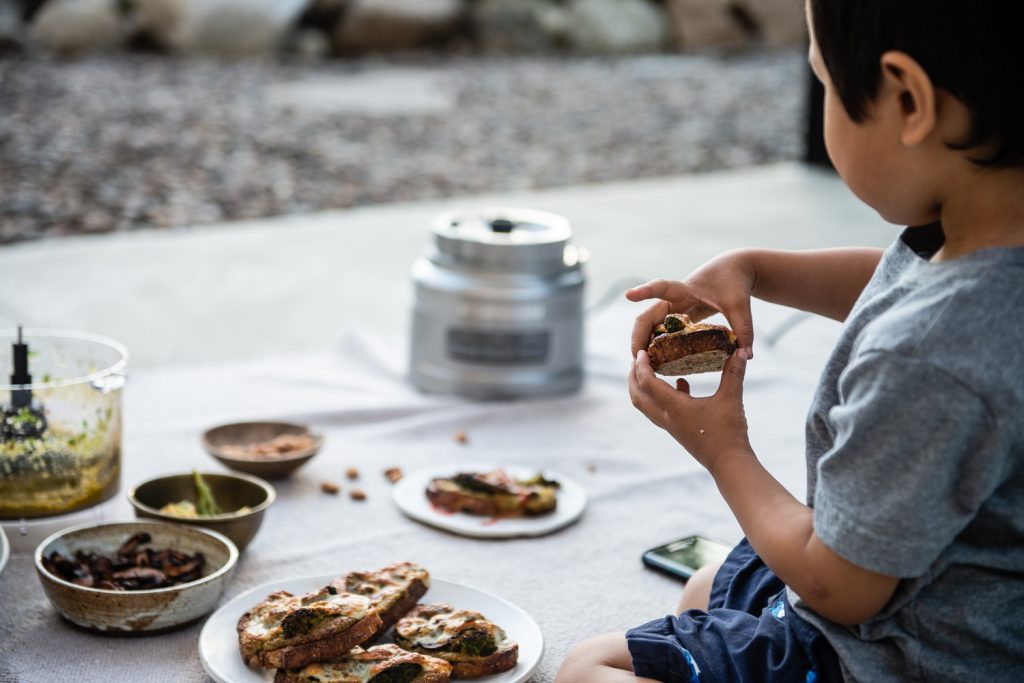
The weather in LA has been cooler lately, getting brisk in the mornings but still balmy in the afternoons, and perfect to eat outside now that we actually have a yard of our own. So I took these little workhorses out to our backyard to cook while Luke and Clara gallivanted outside (or, while Luke ran around and Clara bounced in her chair with emphasis).
We discovered this summer that Luke loves pesto on anything and everything, so it was a natural contender for a new food processor. Before I got the 7 Cup Food Processor, I’d been making pesto all summer in a little 3-cup processor that used to rattle wildly and threaten to jump out of my hands every time I turned it on, plus splatter anything liquid all over everything unless I covered it up with a kitchen towel.
The KitchenAid food processor, by contrast, is just heavy enough to blend the perfect pesto without–imagine–me even having to touch it after turning it on, let alone holding it down with all my force; at the same time, it’s still light enough that I can tote it around from makeshift kitchen to backyard. It’s a snap–literally–to use, with a one-click, twist-free bowl (that doesn’t leak!) and it has a chute to drizzle in olive oil or drop in more ingredients. And as if that wasn’t enough, the bowl, lid and accessories are all dishwasher-safe (which, if we’re not exactly taking advantage of yet, will be amazing in a few months).
A typical pesto actually doesn’t require a cooktop at all–so it’s great for a renovation!–but we’ve been liking a bit of broccoli in the pesto for heft, so the countertop oven was perfect for roasting the broccoli for a bit more depth of flavor. For the batch I made for B2 and me, I also added a little Sriracha. It’s an oddity born of a college obsession with Noodles & Company’s pesto cavatappi and their penchant for keeping Sriracha on all their tables, but it really works–the Sriracha laces the pesto with a subtle heat and a little tang that complements the peppery basil and funky cheese perfectly. I imagine a regular chili garlic paste would work great, too.
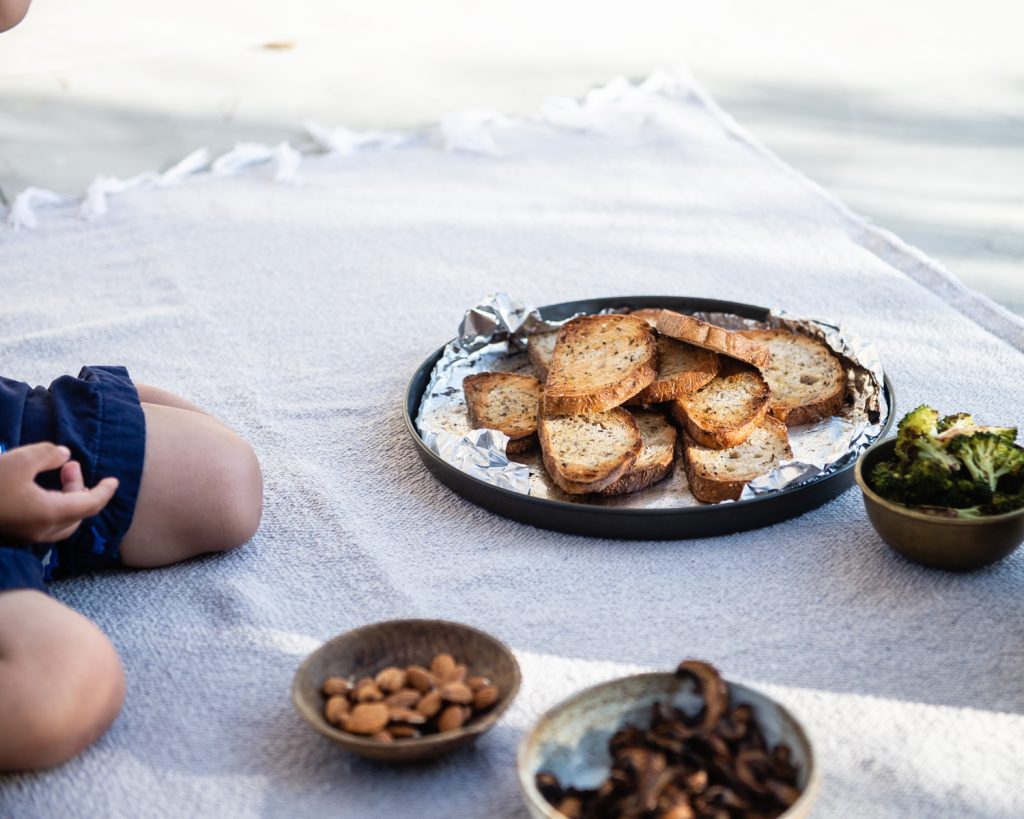
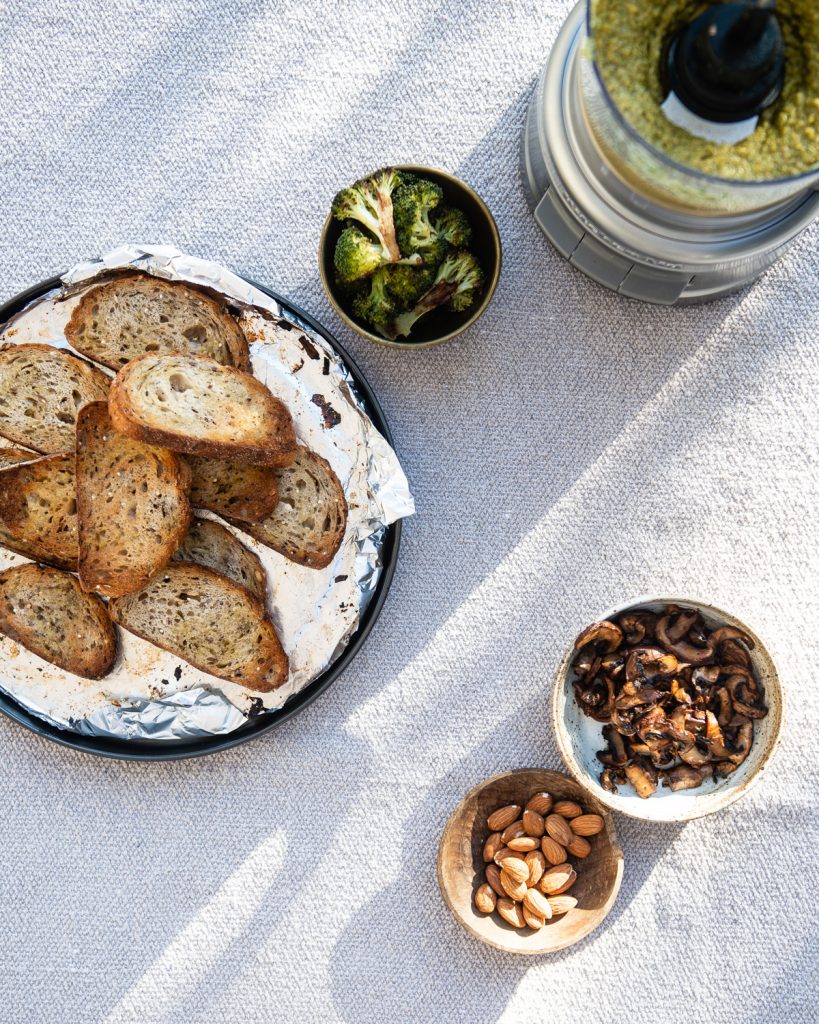
Finally, to minimize the crazy number of plastic utensils we’ve been using, I ended up spreading this pesto on toast and throwing on a few toppings, including Sriracha-roasted mushrooms (which are wholly addictive and the only way I ever want to eat mushrooms). The countertop oven is so small that I swear it cooks faster than my regular ovens have in the past; the mushrooms were done in 20 minutes, and once the pesto was layered on and draped with cheese, the toasts broiled in 4 minutes, perfectly evenly. With gadgets like these and weather this nice, I can almost forget that I don’t have a kitchen.
Thank you to KitchenAid for sponsoring this post and providing these appliances. All opinions are, as always, my own.
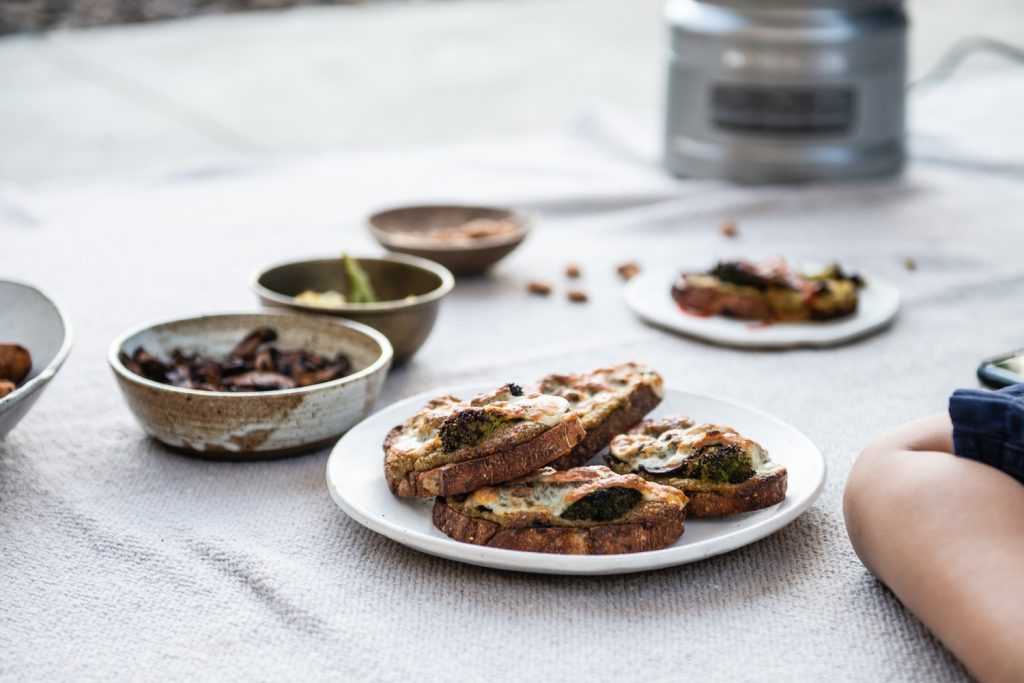
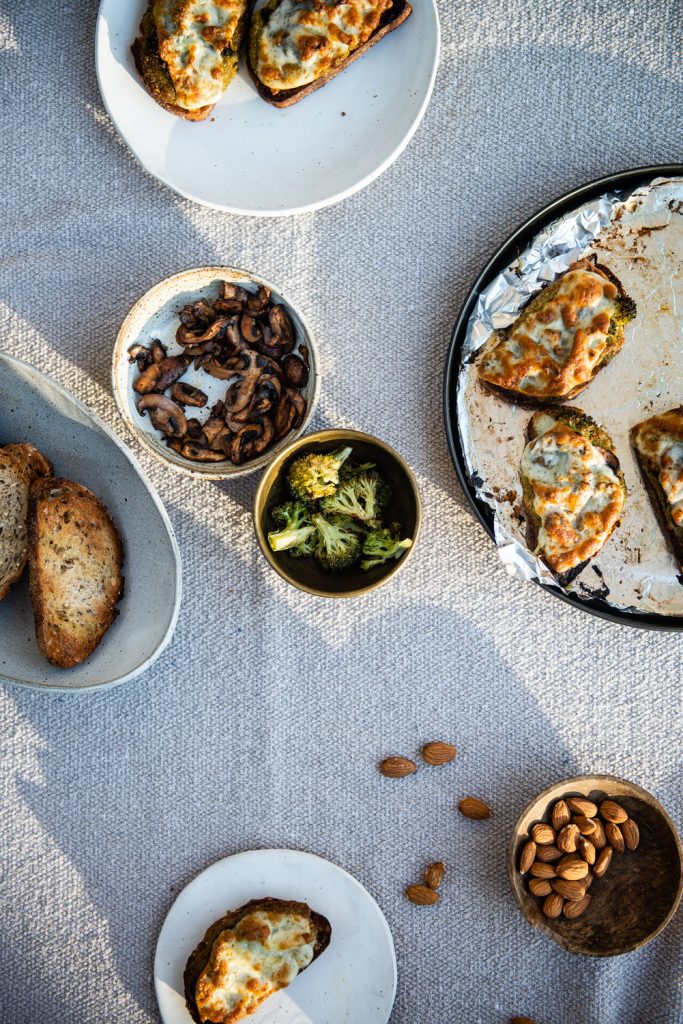
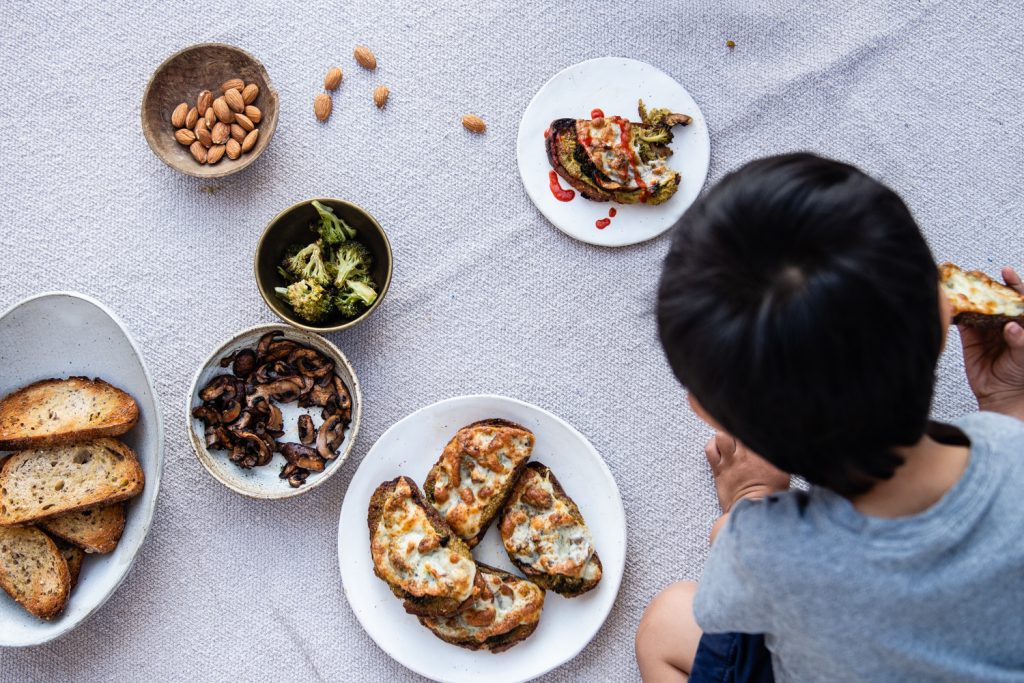

sriracha & roasted broccoli pesto
Broccoli pesto is my favorite way to sneak some greens into Luke’s beloved pasta, and while I first made this using quickly panfried or steamed broccoli, I find that roasting it adds a savory depth that can’t be beat. When I make this for him, I skip the Sriracha, but for us, I’ve found that a dollop or two adds a fantastically subtle heat, with just a touch of welcome tang, that perfectly complements the peppery basil and savory cheese. You can always omit it and just drizzle a bit on top at the end.
Ingredients
2–3 cups broccoli florets (about 1 small crown)
1 tablespoon olive oil
Salt and pepper, to taste
2–3 garlic cloves, peeled
1 cup basil leaves, tightly packed
⅓ cup extra virgin olive oil
½ cup pine nuts, almonds, or other nuts
2 ounces (⅓ to ½ cup) freshly grated Parmesan, or a mixture of pecorino Romano and Parmesan, to taste
2 teaspoons Sriracha or chili garlic paste
Instructions
Preheat a regular or countertop oven to 375 degrees and line a baking sheet with foil or parchment paper. Spread the florets evenly on the baking sheet, drizzle with olive oil, and season generously with salt and pepper. Roast for about 30 minutes, or until browned in spots and tender. Depending on the size of your oven, you may need to do this in two batches.
Turn on a KitchenAid 7 Cup Food Processor fitted with the steel blade and drop in the garlic. When the garlic is minced and adhering to the sides of the bowl, stop the machine and scrape down the sides of the bowl. Add the broccoli and the basil to the machine and turn on. When contents are finely chopped, stop the machine and scrape down the sides of the bowl again. Add the olive oil, nuts, and Parmesan, and blend until well-combined. Add salt and pepper to taste and continue to process until well-blended. Serve over pasta or as a spread on toast. Pesto keeps for about 5-7 days in the refrigerator and a month or two in the freezer.
sriracha-roasted mushrooms
Tossing mushrooms in just a smidge of Sriracha turns them subtly sweet and savory, slightly fiery, a little crisp, and absolutely addictive. I now never want to have mushrooms any other way.
Ingredients
2 cups sliced Cremini mushrooms (about 4–5 mushrooms)
1 tablespoon olive oil
2–3 teaspoons Sriracha
½ teaspoon minced garlic (optional)
Salt and pepper, to taste
Instructions
Preheat oven to 375 degrees. On a baking sheet lined with foil, spread out the mushrooms. Drizzle the olive oil and Sriracha over the mushrooms, season lightly with salt and pepper, and use a fork or tongs to toss the mushrooms on the baking sheet until evenly coated. If using, also toss the garlic with the mushrooms. Return the baking sheet to the oven at 375 degrees and roast for about 15-20 minutes, or until mushrooms significantly reduce in size and smell fragrant. Enjoy as a side, a topping for pizza or toast, or all on its own.
Notes
If making these along with the above broccoli and below toasts, you can use the same foil or parchment paper the entire way through–just don’t re-season with salt and pepper, as the mushrooms will pick up the leftovers from the broccoli when you toss them.
pesto toasts
Ingredients
8–12 slices of your favorite bread (less if larger)
3–4 tablespoons olive oil
1 to 1 1/2 cups broccoli pesto, from above
Other toppings of your choice (Sriracha-roasted mushrooms and halved fresh cherry tomatoes or sundried tomatoes are our favorite)
8–12 slices provolone or mozzarella cheese
Instructions
Turn the oven to broil. Drizzle each slice of bread lightly with olive oil and broil for 2-3 minutes, or until just golden at the edges.
Spread each slice generously with pesto, layer with mushrooms and tomatoes, then a slice of cheese. Return to broiler for another 3-4 minutes, or until cheese is bubbling and golden. Enjoy!
Notes
If making these at the same time as the mushrooms and pesto above, there shouldn’t be too much residue and you can use the same foil or parchment paper the whole way through–just spray the foil with a bit of nonstick spray if you’re concerned about sticking. The parchment paper should be just fine.




MO
So jealous you’re working with KitchenAid! A dream indeed :). Love the idea of sriracha pesto toast.