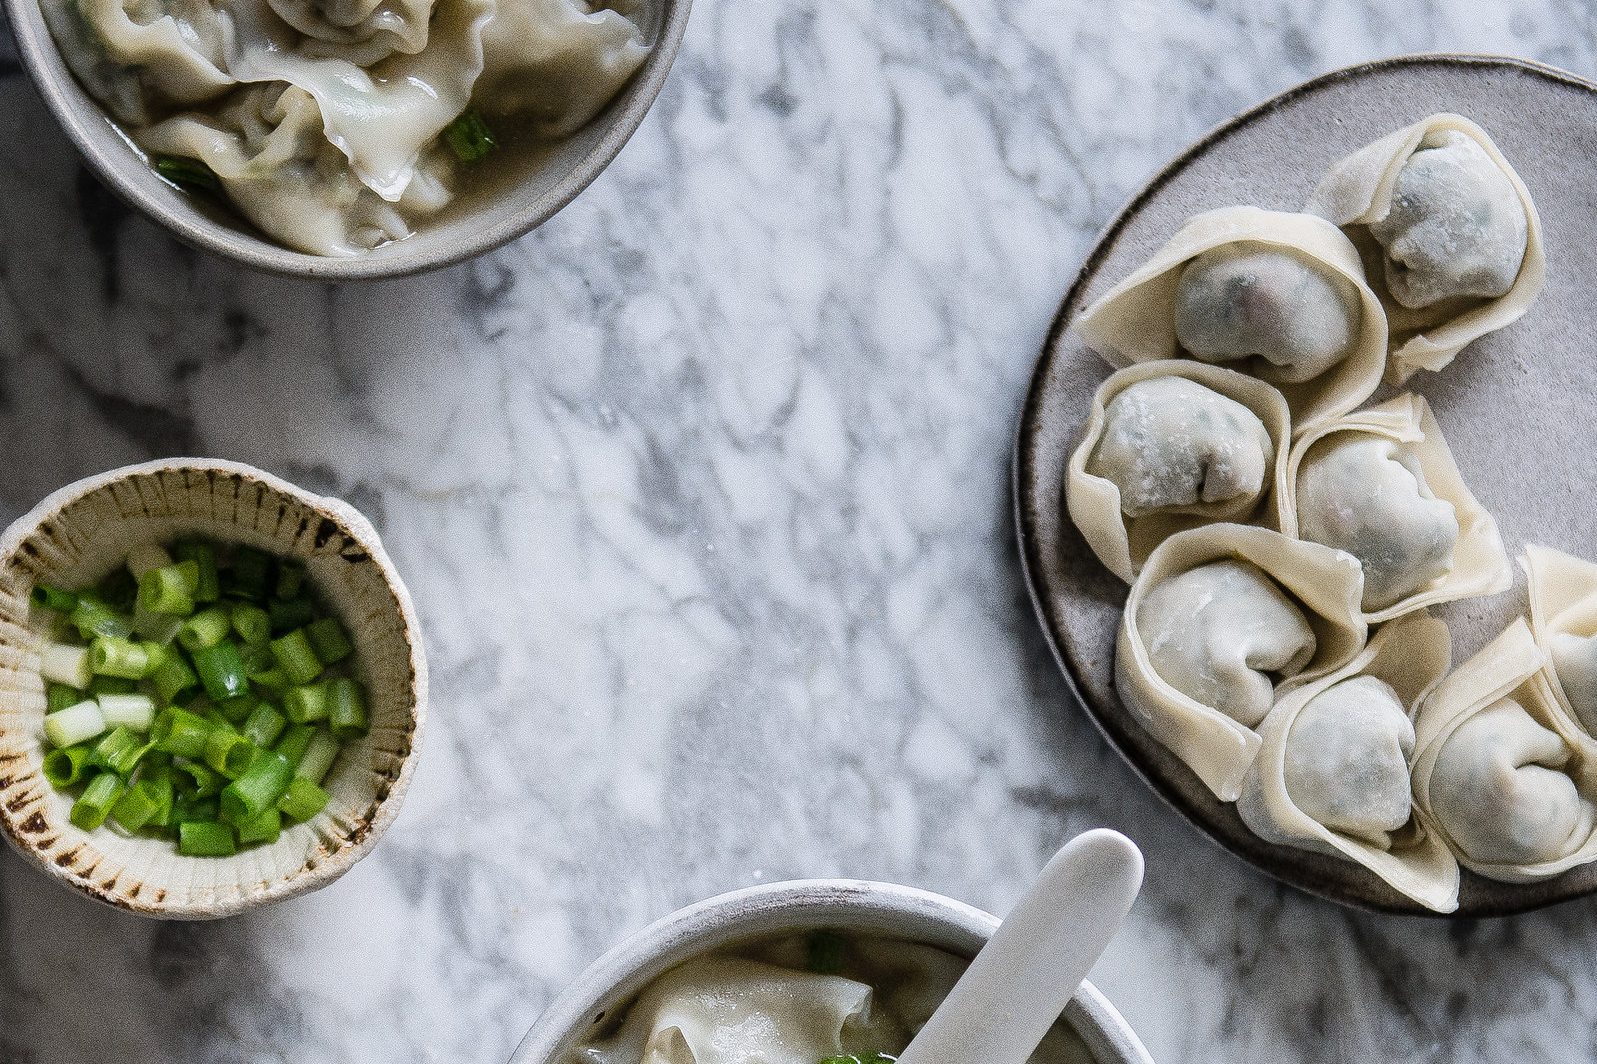


We’ve had adventures this week! Last Friday, I braved the pre-blizzard craziness at the supermarket to buy the only things I thought we needed for a snow day — (a) pork and (b) bok choy for (c) lion’s head meatballs. And maybe also some seltzer. While the person ahead of me lugged gallons of water out of the store and the person behind me lugged gallons of water onto the conveyor belt, I went home with my pork, bok choy, seltzer, and zero gallons of water, and I’m fairly sure I texted B2 something like lol the supermarket is crazy as usual even though nothing ever happens, what is this storm even called again. I think you know where this is going — 24 hours later (and just as B2’s cousin came to stay with us, sorry Justin!) the water in our little building did go out, then the heat did too, then right when the water got fixed our sink flooded the kitchen. Haha. And I learned the storm was called Jonas.
It was actually not that dramatic — the building owners are wonderful and live right on the first floor (okay, so I think it was more dramatic for them), the heat came back in about the time it took us to zip up our jackets, and even though our overflowing sink didn’t get fixed until yesterday, it was really just an excuse to eat take-out for three days straight and imagine myself as Mickey in Fantasia whenever I had to dump out the water. But I think this means I’m officially disqualified from making fun of water-buying fellow citizens ever again. You are wiser than me, neighbors. (Although this all happened after I made the meatballs! And they were hearty and comforting and sustained us through our no-heat no-water day! So.)
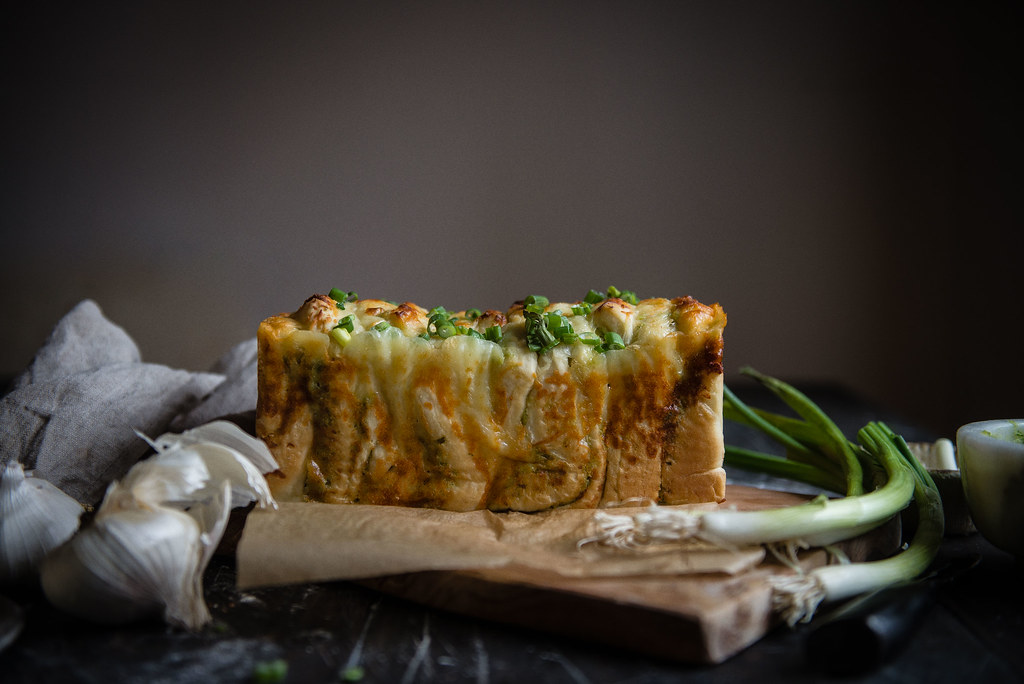
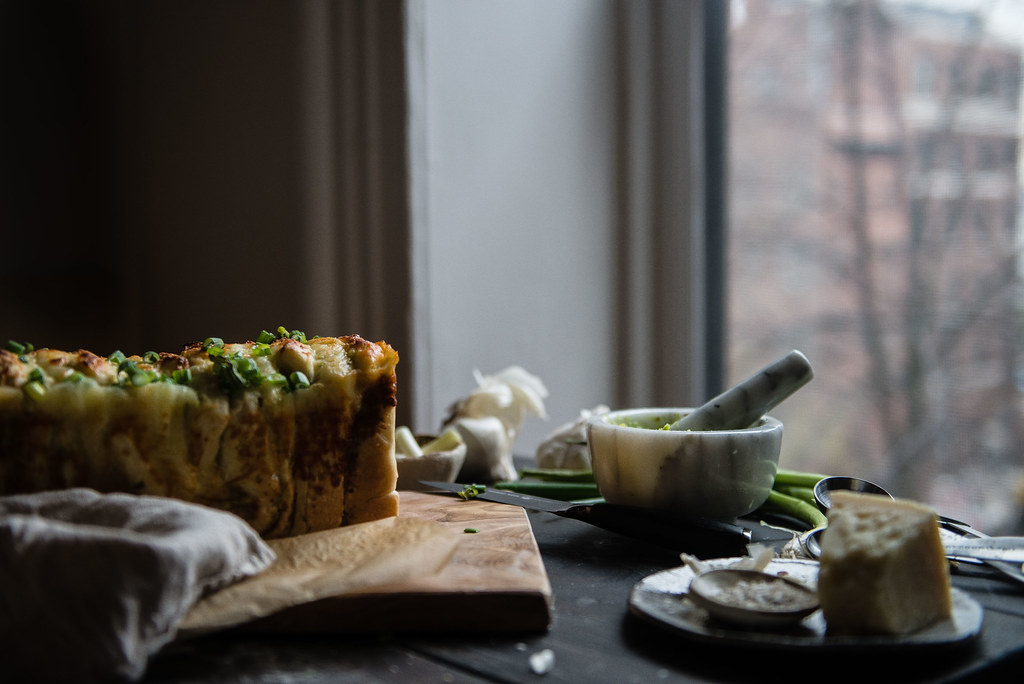
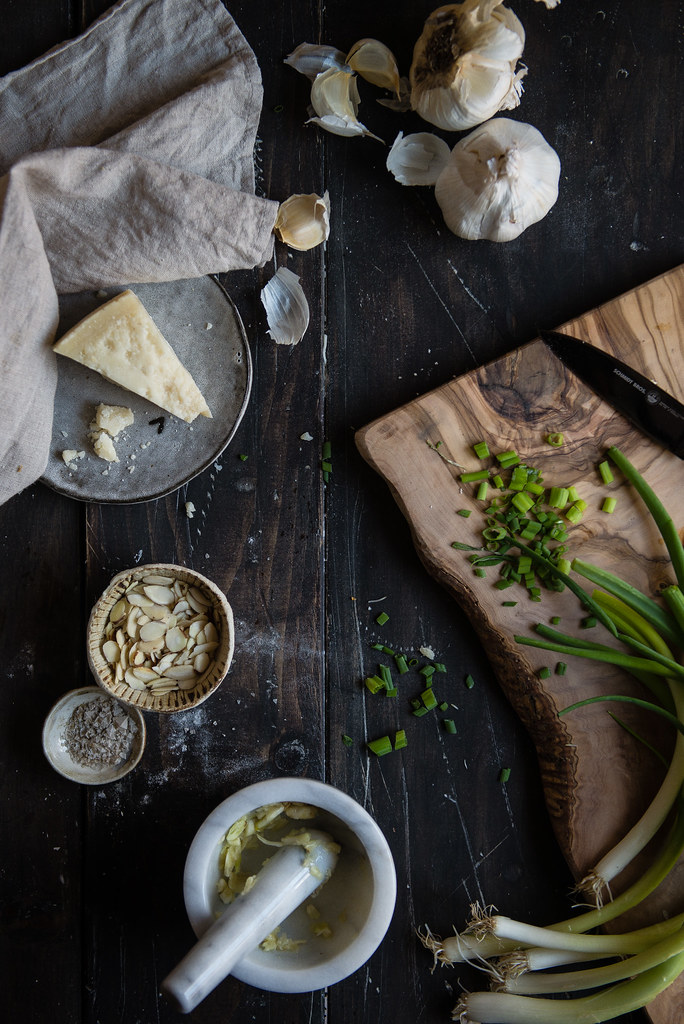
Anyway, back before all these Jonas hijinks, in a clean(er) and drier kitchen of mine, I got the chance to bake a couple of these pull-apart loaves. I’ve been waiting to make one of these creations ever since Kelly posted this masterpiece a couple of years ago, and my golden opportunity finally arrived a couple weeks back, when a couple friends of ours hosted a Star Wars marathon before The Force Awakens and I couldn’t get over the idea of bringing a squishy, ripply-topped loaf of cheesy garlic bread dubbed Jabba’s Neck Rolls. Because, as it turns out, really gross names for food only make me more gleeful about eating them. I hadn’t thought to share the recipe at first (despite the super-glamorous name) but it ended up so tasty that I made another version with scallion pesto, and here they both are. Both loaves use my very favorite enriched bread dough, a simplified and lightened-up milk bread that has slowly become my standby ever since I first used it in these black sesame rolls, and the rest is just easy, cheesy heaven — this garlic bread version uses lots of melted butter, garlic, mozzarella, and Parmesan, with parsley here and there to add some brightness (and a green tinge, à la Jabba). It’s nice and simple, with all the crowd-pleasing things that you can’t go wrong using, and with a storebought pizza dough or biscuit dough you could make it even easier. I think I’d bake it even without a working sink. (Who needs clean dishes when you have bread?)
Hope you all stayed warm and cozy this weekend!

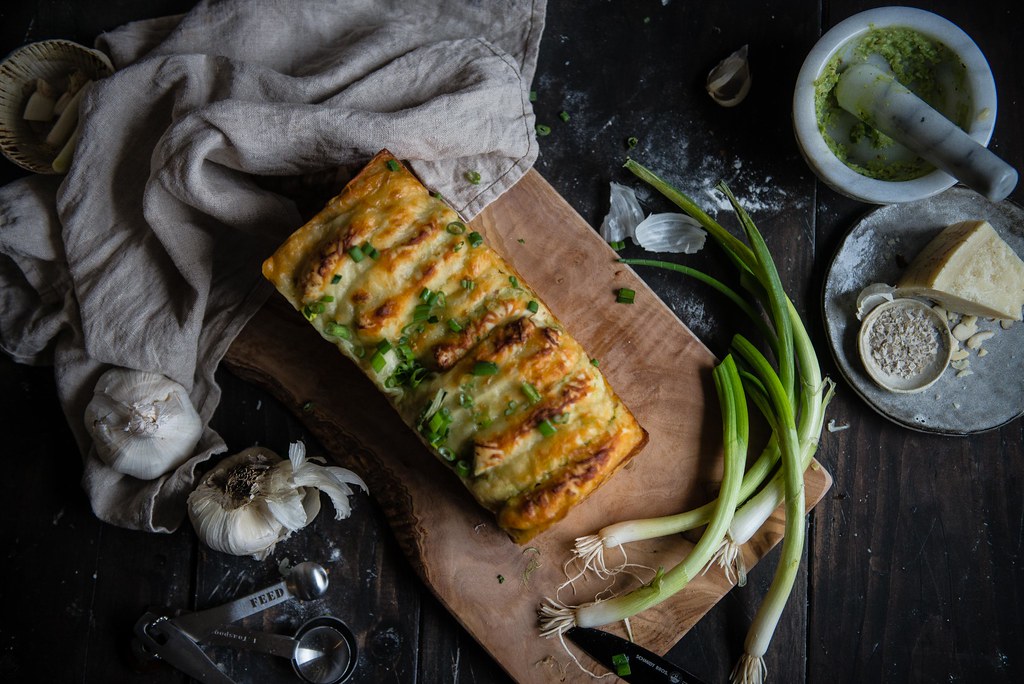
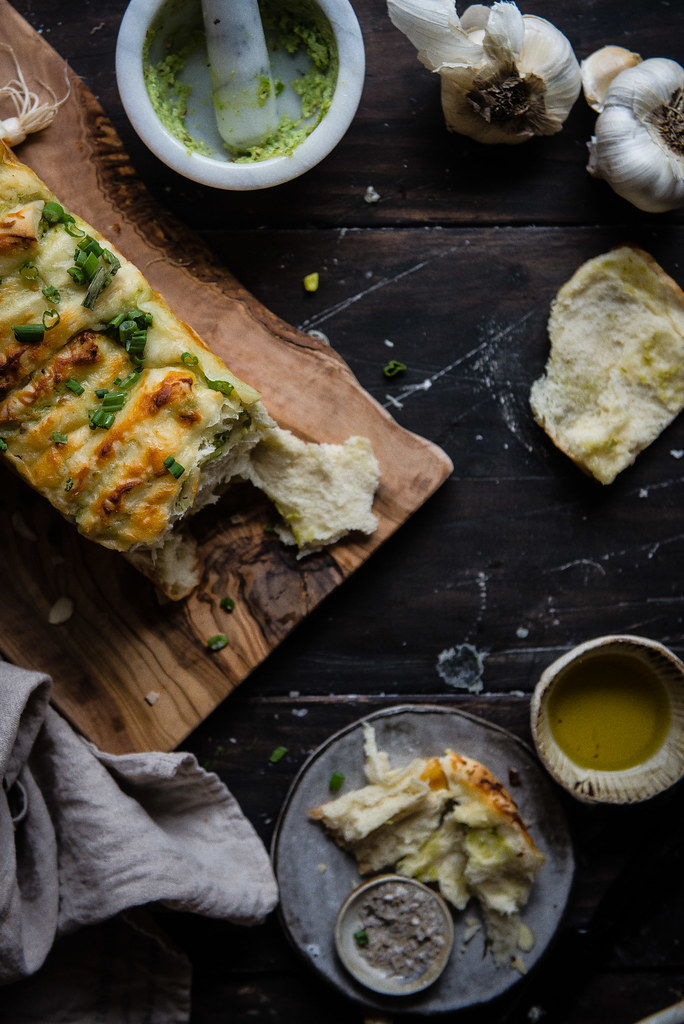
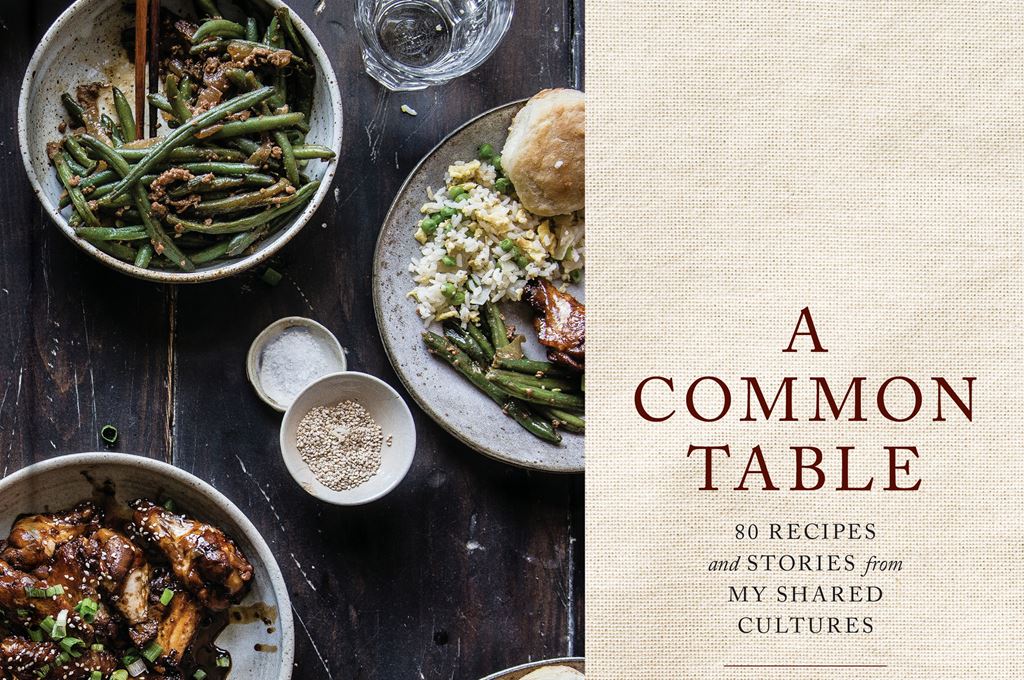
The products in this post were provided by West Elm. You can find the sources for the cheese board, mortar and pestle, marble slab, and more on their blog here. Thank you so much to West Elm for sponsoring this post!
PrintCheesy garlic pull-apart bread
Inspired by Kelly at Just a Taste. The dough based on this Hokkaido milk bread. And you can find a scallion pesto version here!
- Yield: one 9x5 loaf. 1x
Ingredients
- for the tangzhong:
- 6 tbsp water
- 2 tbsp bread flour
- for the dough:
- 1/2 cup milk
- 1 1/2 tsp yeast
- 2 3/4 cups (about 350 grams) bread flour
- 1/2 tsp salt
- 2 tbsp sugar
- 1 egg
- 2 tbsp butter, very soft
- to bake:
- 1/4 cup (1/2 stick, 2 oz, or 4 tbsp) butter, very soft
- 2–3 tbsp minced parsley
- 1–2 tbsp minced garlic, or to taste
- 1/4–1/2 tsp garlic powder, or to taste
- 1/4 cup shredded or grated Parmesan
- 1/2 to 1 cup shredded mozzarella cheese
- 1/4 cup shredded cheddar cheese (optional)
- scallions, finely sliced (optional)
Instructions
- Make the tangzhong: In a small saucepan, whisk together 6 tbsp water and 2 tbsp bread flour until no lumps remain. Heat the mixture over medium-low heat, whisking constantly. It should thicken in less than a minute to a gel-like consistency. As soon as lines appear in the mixture when stirred, remove from heat and transfer to a small, clean bowl. Let cool to room temperature.
- Next, heat the milk briefly to just above room temperature, about 110 degrees or lukewarm to the touch but not hot. I do this simply by microwaving it for 10-15 seconds. Sprinkle the yeast over the milk and set aside for 5-10 minutes for the yeast to activate. The milk should foam.
- In the meantime, sift together the bread flour, salt, and sugar in a large bowl. Once the yeast has foamed, add the tangzhong and the egg, and whisk until well-combined.
- Make a well in the flour mixture and pour in the wet ingredients. Stir with a wooden spoon until the mixture forms a loose, shaggy dough, then switch to using your hands. Knead for 4-5 minutes, or until the dough forms a semi-smooth ball. The dough should be quite sticky — sprinkle flour over your hands and the dough as needed to keep kneading, but try to avoid overflouring. One tablespoon should be enough.
- Add the butter to the dough, one tablespoon at a time, kneading after each addition. Add the second tablespoon of butter only after the first has been evenly incorporated. The kneading will be slippery and messy at this point, but just keep kneading (it’s weirdly satisfying, actually) and it should eventually form a soft and pliable dough that’s easy to work with. Knead for an additional 4-5 minutes, or until dough becomes smooth and elastic.
- Place the dough in a large bowl with plenty of room and cover the bowl with plastic wrap or a damp towel. Let proof for 1-2 hours, or until well-doubled. Alternatively, let the dough proof overnight in the refrigerator for 8-10 hours, covered with plastic wrap. I prefer the latter — it gives extra time for the gluten to develop, and yields a better flavor, in my opinion. Plus, dividing the labor over two days makes the process much more manageable.
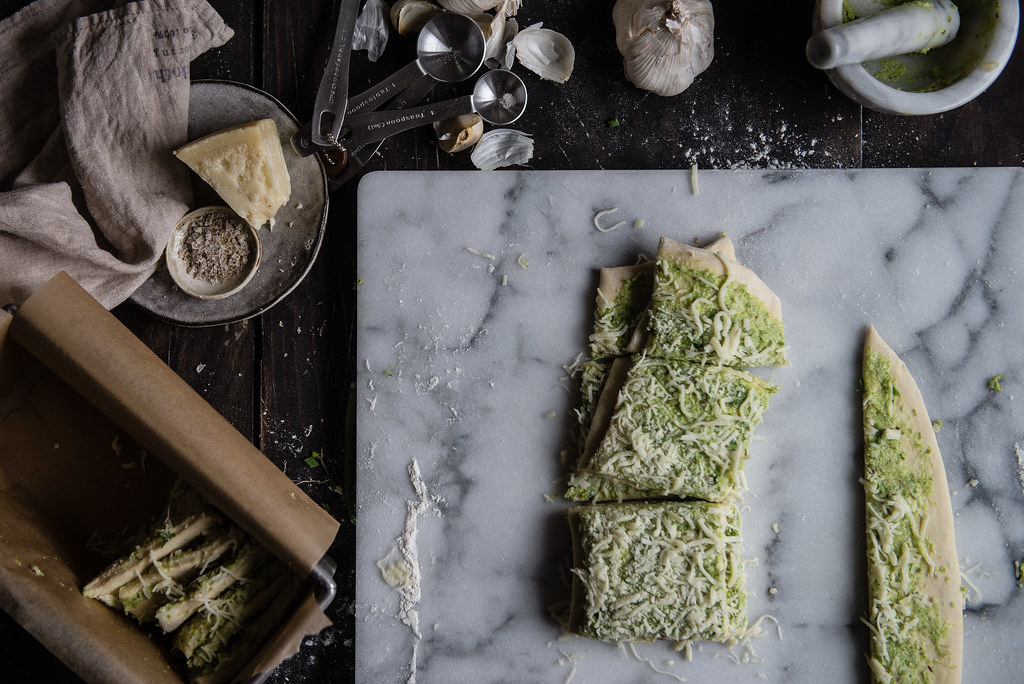
- The next day, whisk together softened butter, chopped parsley, garlic, and garlic powder. On a well-floured surface, roll the dough out to a rough 10×14-inch rectangle (or larger, which will result in more pieces). Spread the butter evenly across the surface, then sprinkle with mozzarella, Parmesan, and cheddar. If you like, you can also add finely sliced scallions here, too. Slice the dough into strips, then stack the strips and cut into squares, like Kelly’s tutorial here.
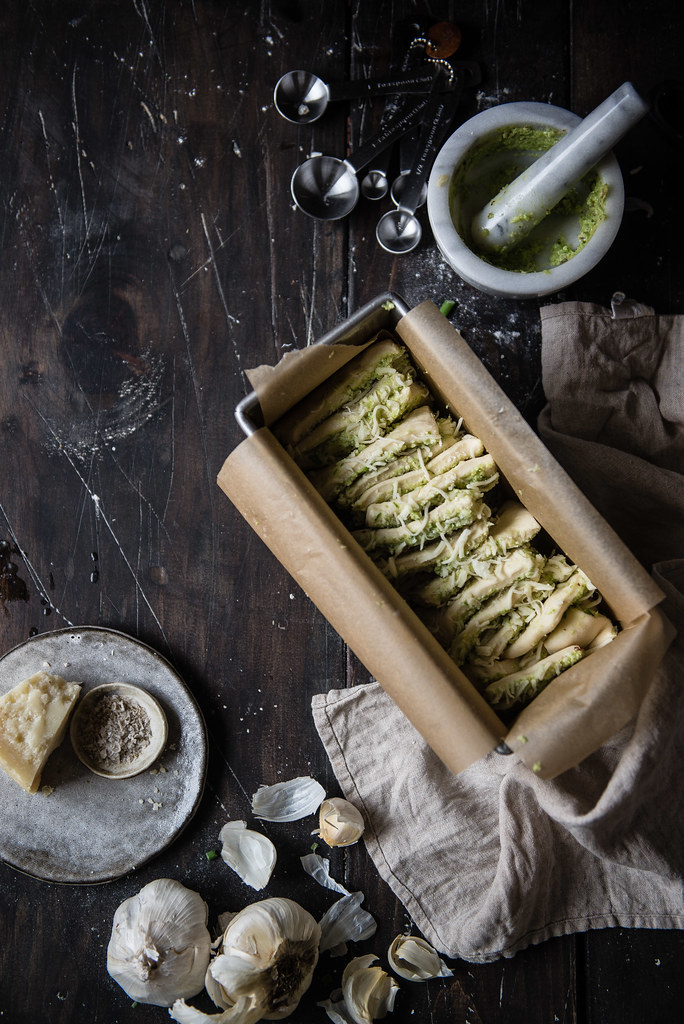
- Place the pieces vertically into a 9×5 loaf pan lined with parchment paper. Tuck extra pieces on the sides as needed. When finished, there should be some extra room, either on the sides or at the top, for the dough to rise. Let the dough rise again, covered with a damp towel, for about 45 minutes to an hour. The dough should nearly double again.
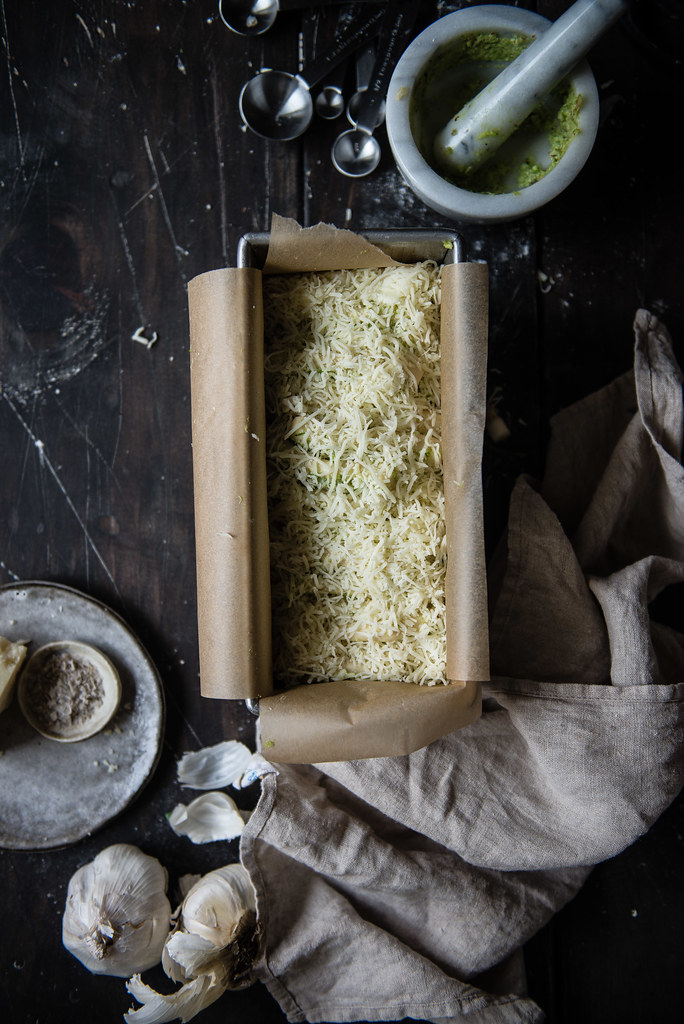
- About 30 minutes into the rise, preheat the oven to 350 degrees. Once the dough has risen again, sprinkle extra cheese over top, then bake, uncovered, about 35-40 minutes, or until cheese is well-browned on top and bread sounds hollow when tapped. (If cheese browns too quickly, cover the loaf with foil to prevent burning.) Cool briefly, then remove from tin and serve warm, with extra parsley and scallions if desired.
Notes
If your milk doesn’t foam and your yeast is fresh, it might be because the milk isn’t ultra-pasteurized — discard and start over, but this time, heat the milk to just under boiling to scald it, then cool it down to lukewarm and proceed. Supposedly this denatures any proteins that might be inhibiting the yeast.
If not measuring the flour by weight, be sure to fluff it before scooping to get the most accurate measurement. I generally spoon the flour into a cup and then level.
If letting the dough rise overnight, take care not to seal the bowl completely airtight, which can sometimes result in a build-up of gas and an alcohol-like smell. I generally wrap it lightly in plastic wrap and then again with a tea towel.
Marisa Franca @ All Our Way
I’ve made so many varieties of bread with so many different techniques but this is a new one on me. I love breads and i’m definitely making this recipe. Can’t wait!!!!
tworedbowls
Oh, I am so glad to hear that!! I hope you love it if you try it! Thank you for the kind words, Marisa 🙂
TheBlogness
The bread looks so yummy. I will for sure bake this when I have oven finally! And the story is great too 🙂 Thanks for sharing!
tworedbowls
Yay!! Thank you for reading!!
movita beaucoup
We had a huge snow storm called White Juan many years ago. That sounds super racist if you ask me, but it got its name because the previous year we’d had a devastating brush with hurricane named Juan, which made the dump of 100 cms of snow seem like some sort of Juanesque wintery revenge. Anyhoo, there was so much snow in Halifax that trucks couldn’t deliver essentials like bread, milk and produce to the grocery stores. The shelves were bare, the city was crippled. Curfews were put in place in order to allow for snow clearing. There was so much snow – and no where to put it – that trucks were permitted to dump some in the Halifax Harbour.
This is all to say that bread looks super tasty.
tworedbowls
omg. White Juan. I can’t get over that name. (But also everything else about this. Halifax always puts everything in perspective down here in the balmy south!)
Erica
IT LOOKS SO GOOD. And you get bonus points for calling them Jabba’s neck rolls hahahaha I die. Hope all is warm and cozy now post-storm! 🙂
tworedbowls
Bahaha I’m so happy you are as tickled as I was! I still can’t stop giggling over it. I think I’d be okay with all foods being named after unappetizing body parts. Thank you so much, Erica!!
sundiegoeats
wait sooooo excited for lion’s head meatballs!!!!! that was the one thing my grandmother insisted on ordering every time we got Chinese food from a restaurant.
tworedbowls
Hahaha aww I love it!! It’s my dad’s favorite food, too! 🙂 If you want a recipe, I actually have one from way way back on the blog — https://tworedbowls.com/2013/12/30/shanghainese-lions-head-meatballs/ from my great-grandma on my dad’s side, and it’s my very favorite. High-five for lion’s head love <3 <3
Daisy
This looks heavenly, I am salivating!
Katrina @ Warm Vanilla Sugar
This is definitely my kind of weekend project. It’s gorgeous! And I bet the smell that wafted through your kitchen was amazing while it was baking!
Michelle || Hummingbird High
Wait, sincere question from a West Coast lifer before I move out there — why do people buy water before snowstorms? Do the pipes freeze up or something and you can’t get any water?
PS — this bread looks bomb. Glad to hear y’all survived the storm! See you next week 😉
Sweet Tea Sweetie
Cheesy pull apart bread sounds delicious but I also love how you made it look a little fancy too by keeping it in such a perfect shape.
Kari
http://www.sweetteasweetie.com
thejameskitchen
Absolutely addictive! Can’t wait to make it this weekend.
Nicole
Linda | The Baker Who Kerns
Oh my goodness! I think your experience was definitely dramatic! I still had to go to work because the subways were still working but of course NO ONE was at the office cause all my coworkers were going through a similar situation to yours. Anyways I just love pull apart bread and your dough looks so fluffy and spongy. I WANT it!
Jennifer Farley
Why hello there, gorgeous bread!
Courtney | Fork to Belly
You have me laughing through this entire post! LOL Jabba’s Neck Rolls???
Plus, Hokkaido Milk Bread as the base sounds absolutely fabulous 🙂
Melanie@Toots + Dill
Ooooo I must make this!!! It looks delicious!!! =)
danielle is rooting the sun
cynthia, i’m starting to get this feeling that my taste-buds have finally met their soul-mate (aka you). also, seltza is definitely a snow day (every day) must for me! this bread is so gorgeous lady – i am a garlic freak. wishing you well post-jonas madness. xo
Considering The Radish
I’m totally making Jabba’s neck rolls. I love it.
Angela - Patisserie Makes Perfect
Oh goodness me this looks so delicious. I’ve never heard pull apart or tear and share bread – but it looks really fun. I have to make this, because I love the idea of spring onion pesto you used in the other post.
Do you have to serve this warm or does it work cold?
tworedbowls
Thank you so much, Angela!!! I totally agree, I think the tearing part is the best part, hehe 🙂 I like the bread warm, but I’ve definitely served this bread at room temperature (after bringing it outside in the NY winter!) and everyone still loved it, so that should be just fine, too. I hope you love it if you try it!
Brooke Bass
Oh my gosh, I would give anything for this bread right this second! It looks so pillow-y and warm and I can only imagine how comforting it would be on a chilly day.
Sorry to hear about the sink and the heat and the water! But for what it’s worth, I think you have your priorities straight. Pork and bok choy trumps water any day. Plus I’m pretty sure all of those water-stocked neighbors of you would fork over all of their reserves for some of that pork…or this bread!
Summer
Girl, the only difference between you and me is that (luckily) our building maintained perfect working order during that storm. I too went out last friday to stock up on supplies for cake baking over the weekend, rolling my eyes at all the knuckleheads stocking up like it’s the end of the world. The storm did turn out worse than expected, and then I felt like a jerk for making fun of those prudent shoppers. ANYWAYS, I am glad you got to make your meatballs and everything got fixed!!
And of course this bread looks so soft and delicious, it would have been great to nom on during all the snow. Loving everything about this recipe!!
Laura (Tutti Dolci)
There’s nothing better than a good pull apart bread! This is perfection!
Jessica
Looks so so delicious, I want to make this!
Marta @ What should I eat for breakfast today
O wow, I’ll never make comments like this again 😀 What a story! And bread looks amazing. I made a very similar one some time ago and I loved it! You can try to add a bit if a beer next time 😀
gottagetbaked
Bwahahahahaha Jabba’s neck rolls! Brilliant! I too would welcome the chance to be forced to eat take-out. I’m glad you and Bowl #2 weathered the storm! This pull apart bread looks amaaaaaaaazing and totally delicious. You can never go wrong with cheesy herby carbs christened a hilariously gross name!
Ellie | fit for the soul
Sigh…this just looks phenomenal!!!!! And those bumpy little ridges are just so perfect. Nothing like beautiful fresh bread in my opinion. Glad you ended up publishing this despite the Jabba reference! Once again, I haven’t seen the movie (sorry :/ ) but I know Jabba has much work to do, lol. Eeeep.
Sarah
Made this today! Was damn tasty but I could’ve added more garlic 😛
Great recipe, thanks a lot!!
http://s1114.photobucket.com/user/schoolwars/media/bread.jpg.html
Kate Ramos (@holajalapeno)
Wow! This looks freakin’ amazing!! Sorry about your storm troubles, but at least you’ve got a story to tell. I think some jabba rolls might be in order for that football game happening later this week. 🙂
alanafixfeastflair
Boo to Jonas and flooded sinks but hooray for this cheesy jabba’s neck rolls (hehehehe) bread!! It looks so insanely cheesy that the thought of it might chase away Jonas (brothers) blues. Hope you guys are staying warm and cozy out there!!
Erika
Jabba Neck Rolls.. ha! I’m glad y’all survived the storm.. and even happier it didn’t make it’s way down south.. I love milk bread and have made your recipe several times. Can’t wait to try this one. 🙂
tworedbowls
You don’t know how this made my day, Erika! I’m so floored that you made the milk bread. This made me so happy. Sending hugs to you always! (PS SO glad the storm didn’t make it down to you either!)
Michèle Foo
This looks great but where are the spring onions in the recipe? I see them in your pics…I love spring onions so if they could be added, all the better…
tworedbowls
Hi Michèle! The spring onions are from the scallion pesto version of this bread, but you can of course add scallions to the garlic cheese version too! I’m a big scallion lover too 🙂 I’ve updated the recipe to include a few points where you can add them. Thanks so much for asking!
Cindy
This looks so amazing! I just made bolognese and thought bread…And remembered I bookmarked this recipe. Can I leave in fridge for longer than 10 hours?
tworedbowls
Definitely! It should be fine for up to 14-16 hours with no issues, if not longer. If you’re thinking a full 24 hours or more, I might decrease the yeast to 1 tsp. I’d love to hear how it turns out with a longer rise!
MeG
What makes this spectacular is the parsley. Who knew it’s what this recipe really needed to brighten the appearance and flavor. Bought your cookbook because your recipes go a step or two higher to make food more flavorful and the results are consistent.
tworedbowls
This is so incredibly kind! Thank you so much for buying the book and for such nice words. You’ve made my day.