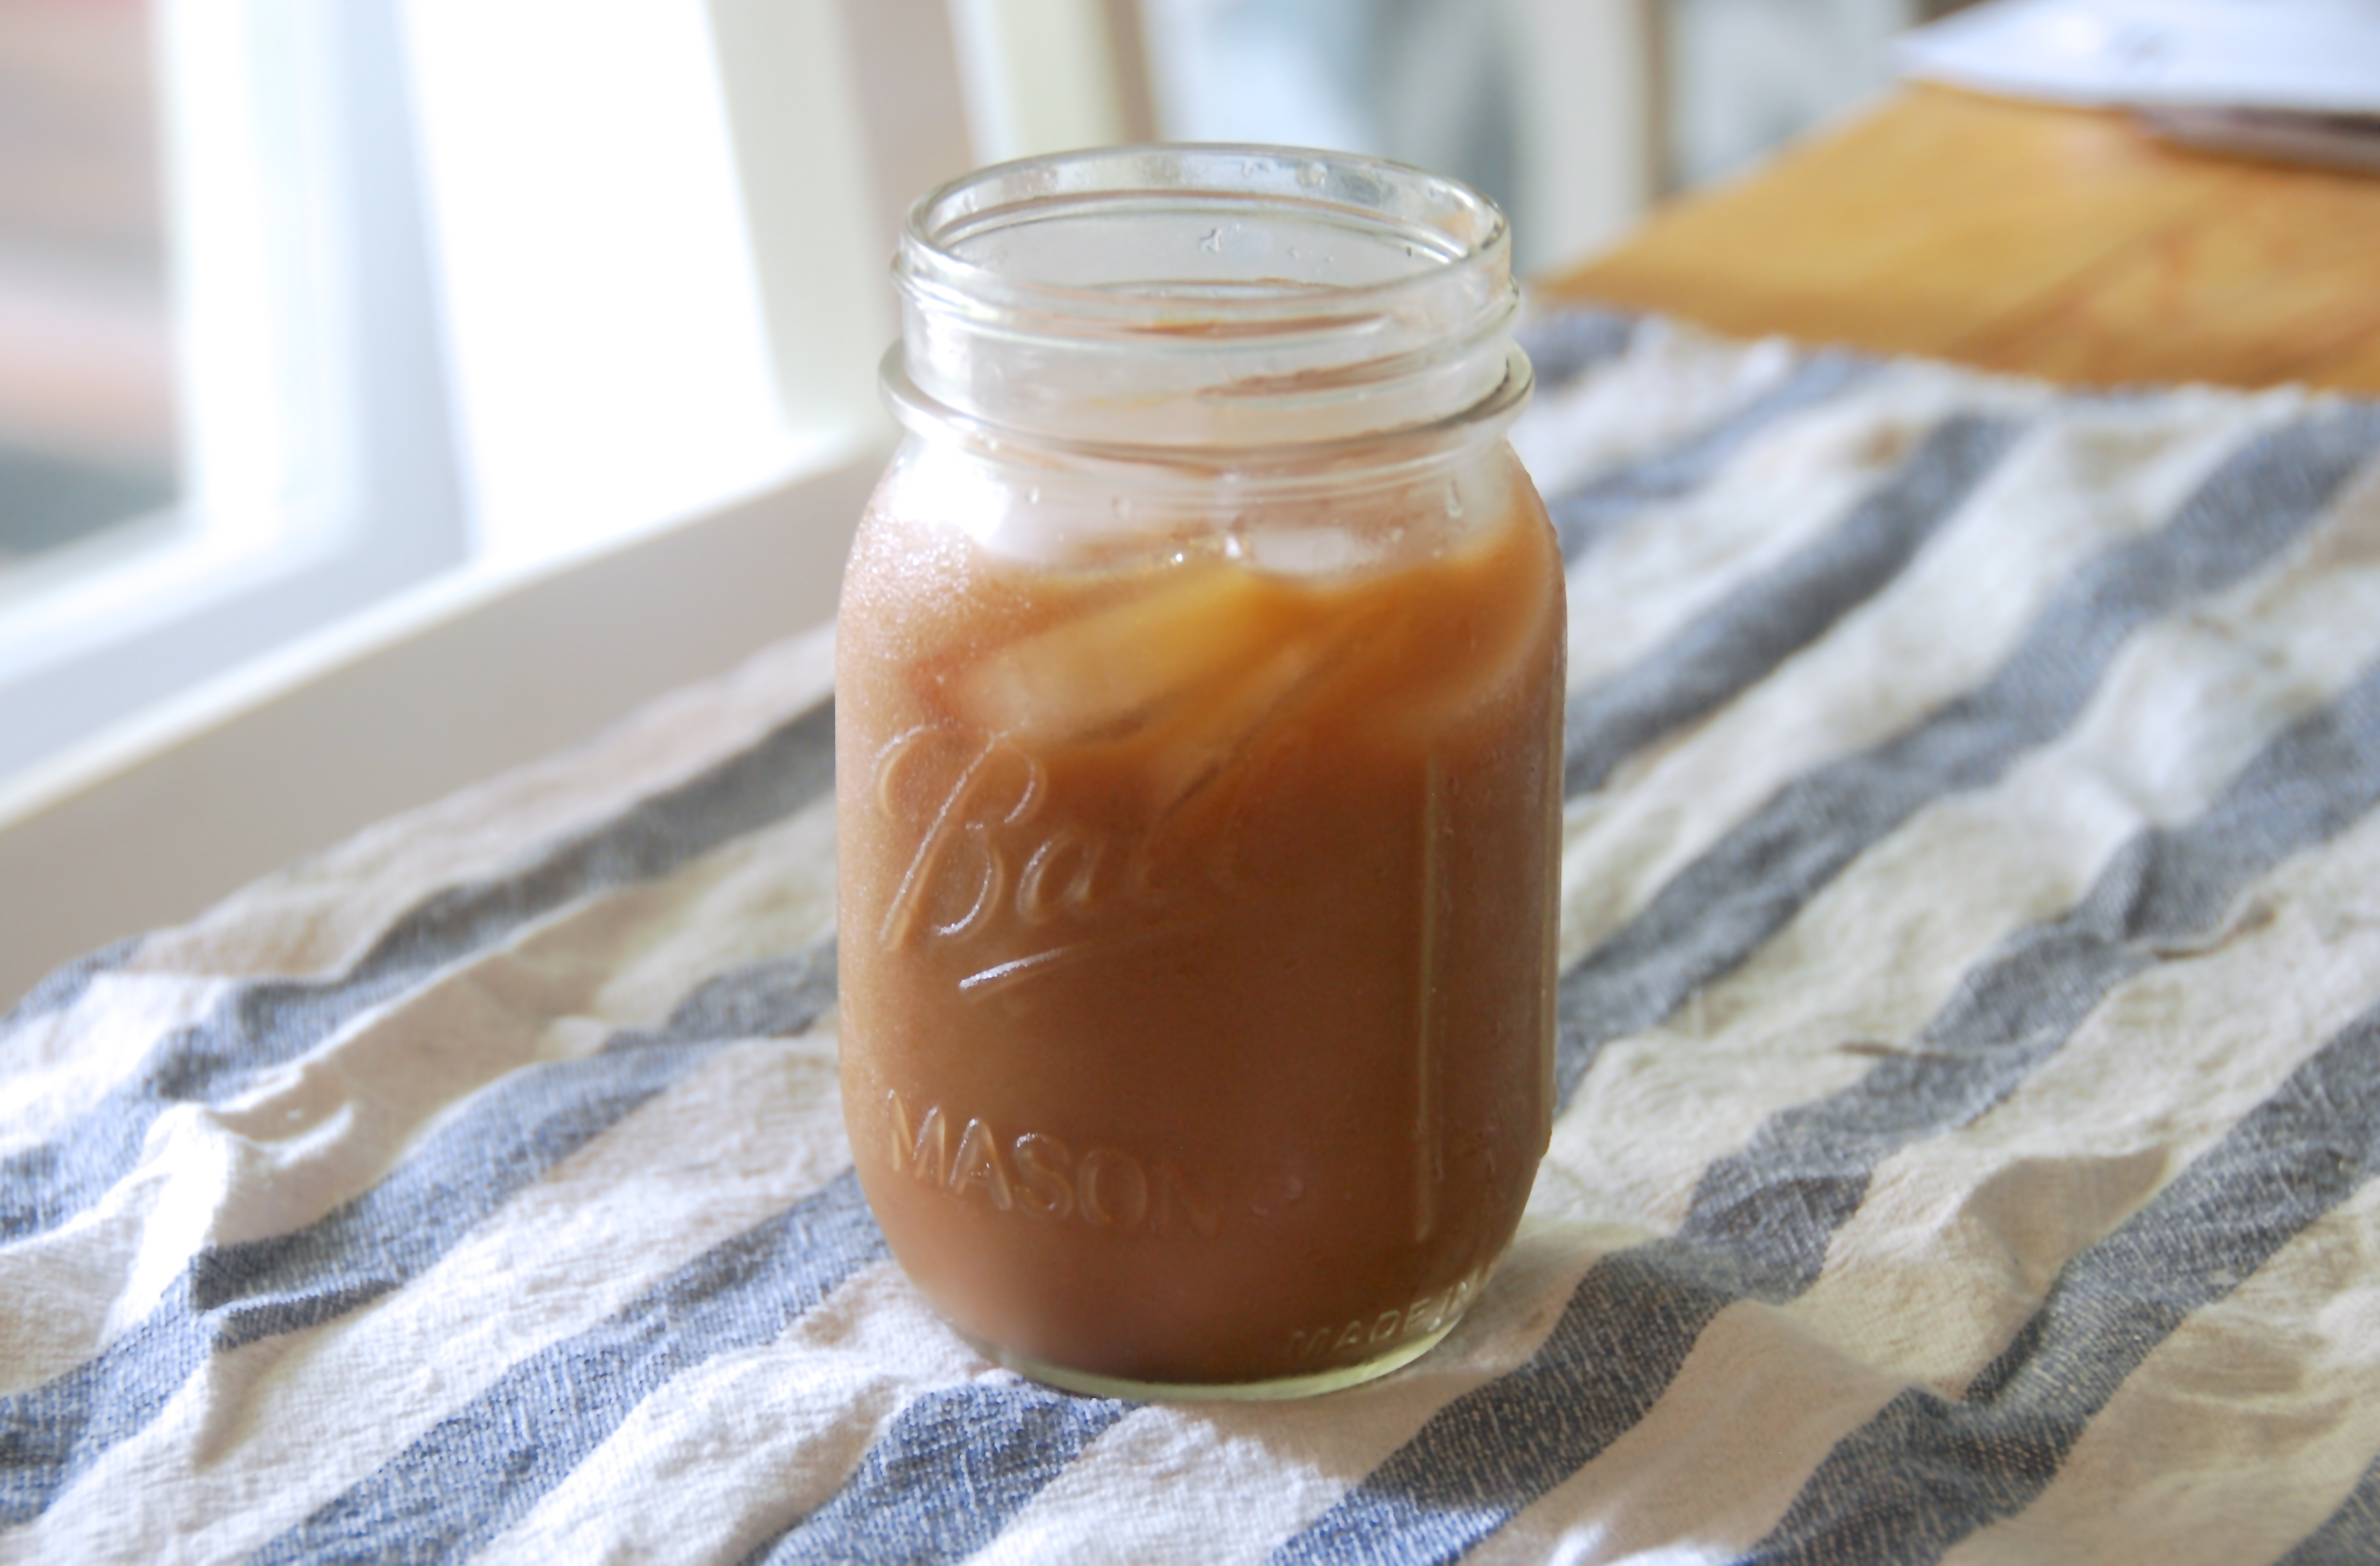
So, it’s really hot outside. (Evidently, it’s fry-an-egg-and-bacon-on-the-sidewalk hot outside. Wow.)
In light of that, I think it’s the perfect time to share the recipe for cold brew concentrate that we’ve been using this summer for homemade iced coffee. (Take that, Starbucks! I’ll wean off you yet.) Apartment Therapy saved my life last month when they linked to an article on how to make iced coffee from cold brew on The Kitchn, during the first heatwave of the summer. I actually didn’t know until I read it that you could make cold brew concentrate without some kind of gadget (and at the very least, a French press)! If anyone else out there was as blind as me, I hope now I can help you see! 🙂 And maybe save you from hours of despondently waiting for your hot coffee to cool, like we did. Haha.
The method I used was one from another Kitchn article they linked to, here, and it worked beautifully. We generally dilute it a bit less than they recommend (at most, one part cold water and one part concentrate) and drink it over a healthy amount of ice. But that may be due to the fact that we like our coffee a bit stronger, as well as the fact that we use cheap-cheesy Folgers coffee instead of something of better quality. We found that, though the coffee might be less concentrated, using regular Folgers was still a better option both because cold-brew already removes a lot of the bitter, astringent flavors (which mainly result from heat) that are associated with cheaper coffee, and because cold-brew does result in less coffee, even when diluted, than brewing by a traditional hot method will, so using cheaper coffee is more cost-effective. Just things we took into consideration.
Also, most recipes call for using 12 ounces of ground coffee and 6 cups of cold water, for a larger amount of concentrate. I have a relatively small strainer, so we generally do about half of that, using 6 ounces of dry coffee and 3 cups of water. For us, that makes enough concentrate for about 6 glasses of iced coffee (maybe 8 if drinking smaller glasses), so we prepare it every other day. If you have a large strainer and large containers, just double the amounts below!
OH, and lastly, don’t forget that the dry measurements for coffee will be different from liquid measurements in your measuring cups / tablespoons, etc.! (I did, and the first few times I made this we had pretty watered-down coffee …) According to this, one measuring cup (so, 8 liquid ounces) is equivalent to about 3 ounces of dry coffee grounds. That said, once you are in the general ballpark of not thinking that one tablespoon of coffee grounds is a whole ounce, there is definitely room to play around with the amounts of water to coffee, and you may find that you like slightly different ratios better.
Cold Brew Concentrate
Makes about 3 cups (24 oz) of concentrate. Feel free to double the amount or to play around with the ratio. Just for quick reference, twice as much would be 4 cups (12 oz) dry coffee and 6 cups cold water, which is what most recipes recommend. And of course, you can make less (1 cup of dry coffee is 3 oz, and will need 1.5 cups of cold water) or in between (3 cups of dry coffee is 9 oz, and will need 4.5 cups of cold water), or less concentrated cold brew (sometimes we do 1 cup dry coffee and 2 cups of water).
2 cups (6 dry ounces) of ground coffee (many recommend coarsely ground, but you can use Folgers and it works)
3 cups cold water
2 large bowls or containers
1 strainer or sieve
1 coffee filter
your tired and your poor, yearning to breathe free (jk)
1. Put the grounds in one of the bowls. Pour cold water over the grounds and stir until fully submerged and moistened. Some sites recommend stirring again after about ten minutes, because the grounds tend to cluster in one layer at the top.
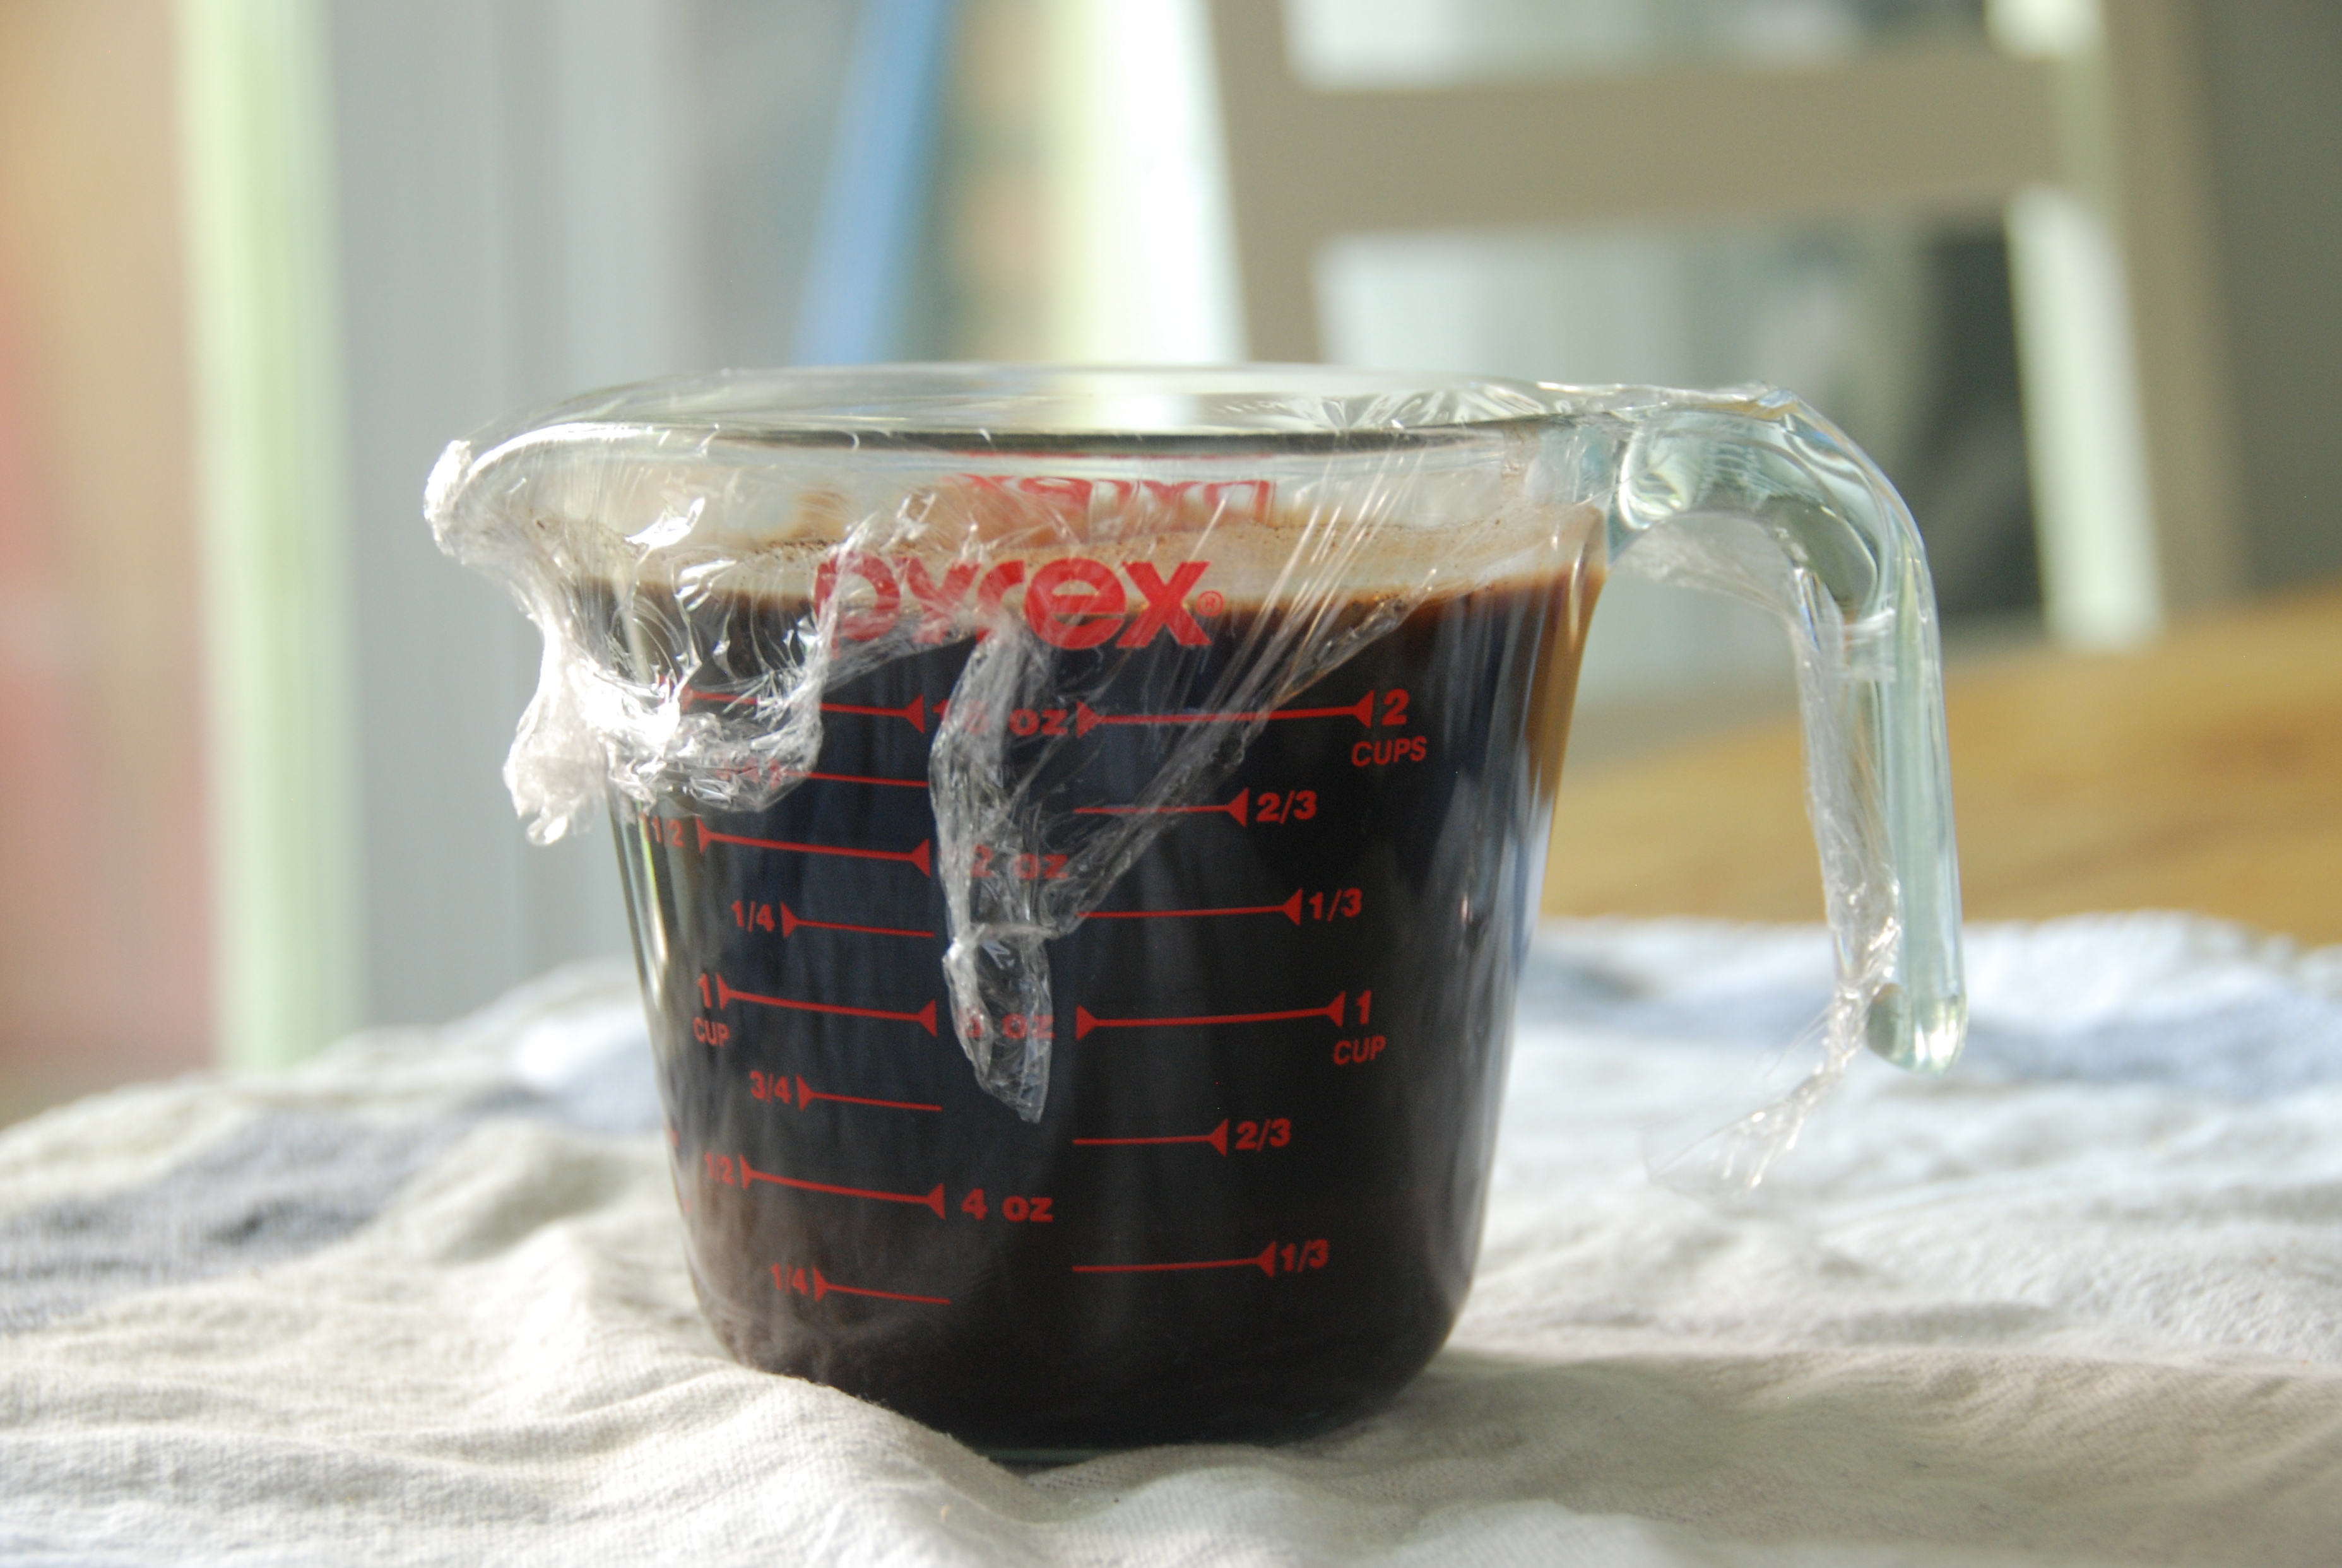
2. Cover and let sit at room temperature for 24 hours.
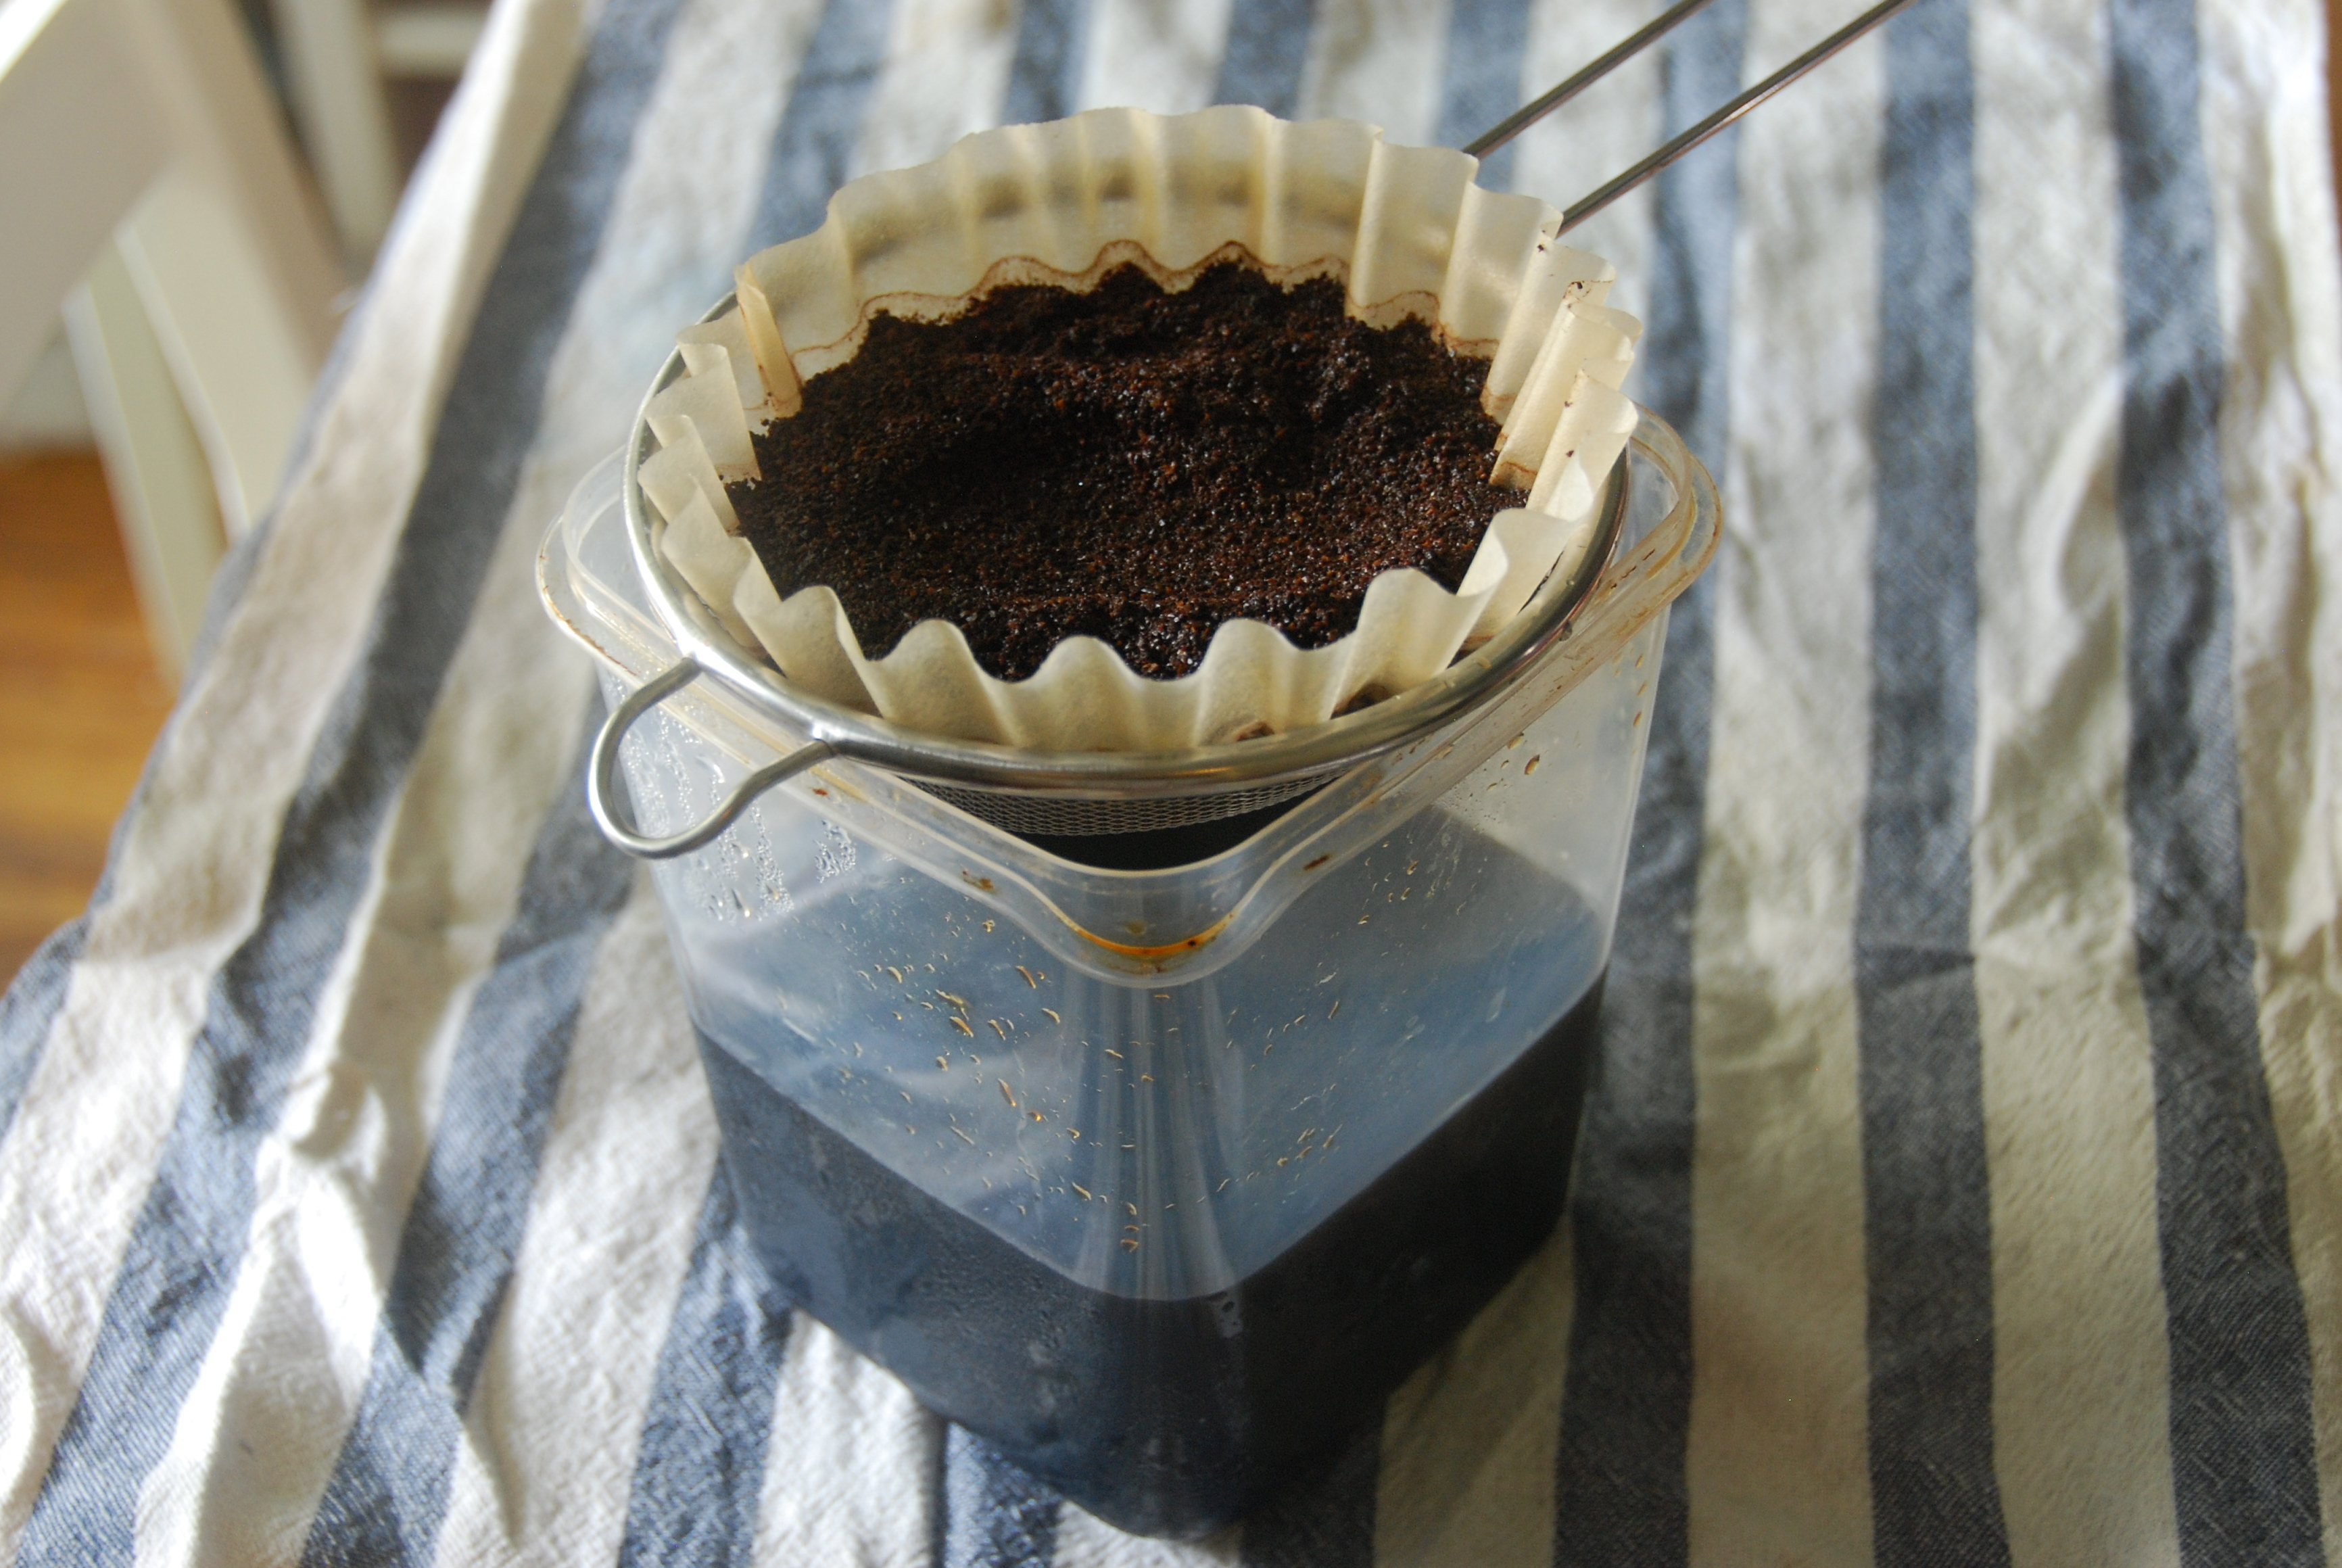
3. Line the strainer with the coffee filter and place over your other bowl or container. Pour the mixture into the filter until almost full and let drain; repeat until the liquid is all gone. At the end, you may want to stir and press the grounds remaining to ensure that you get the most out of it.
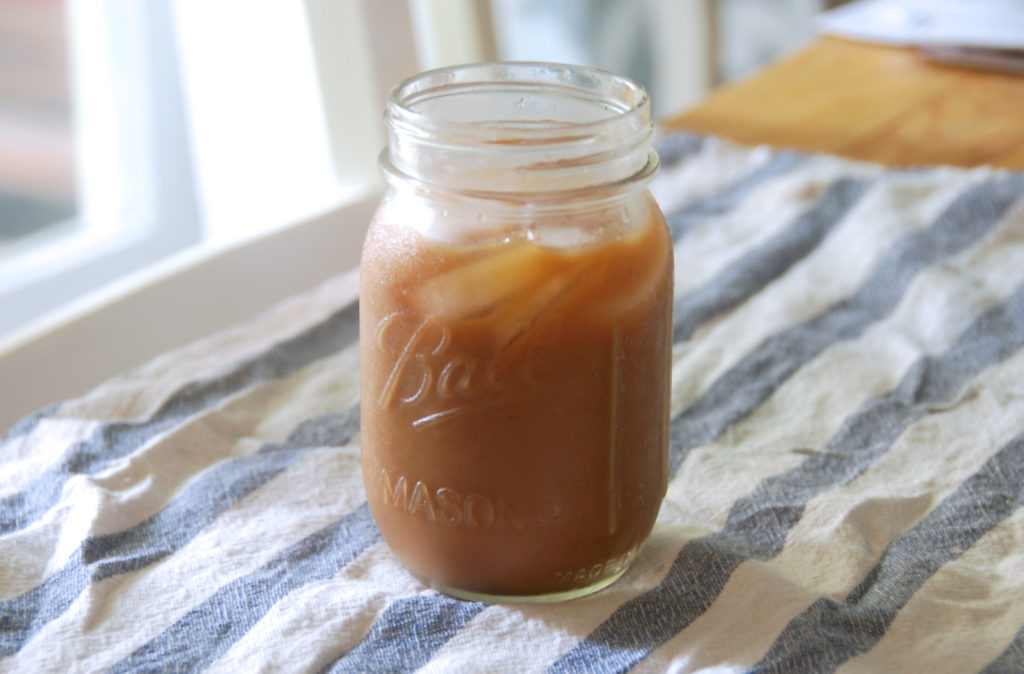
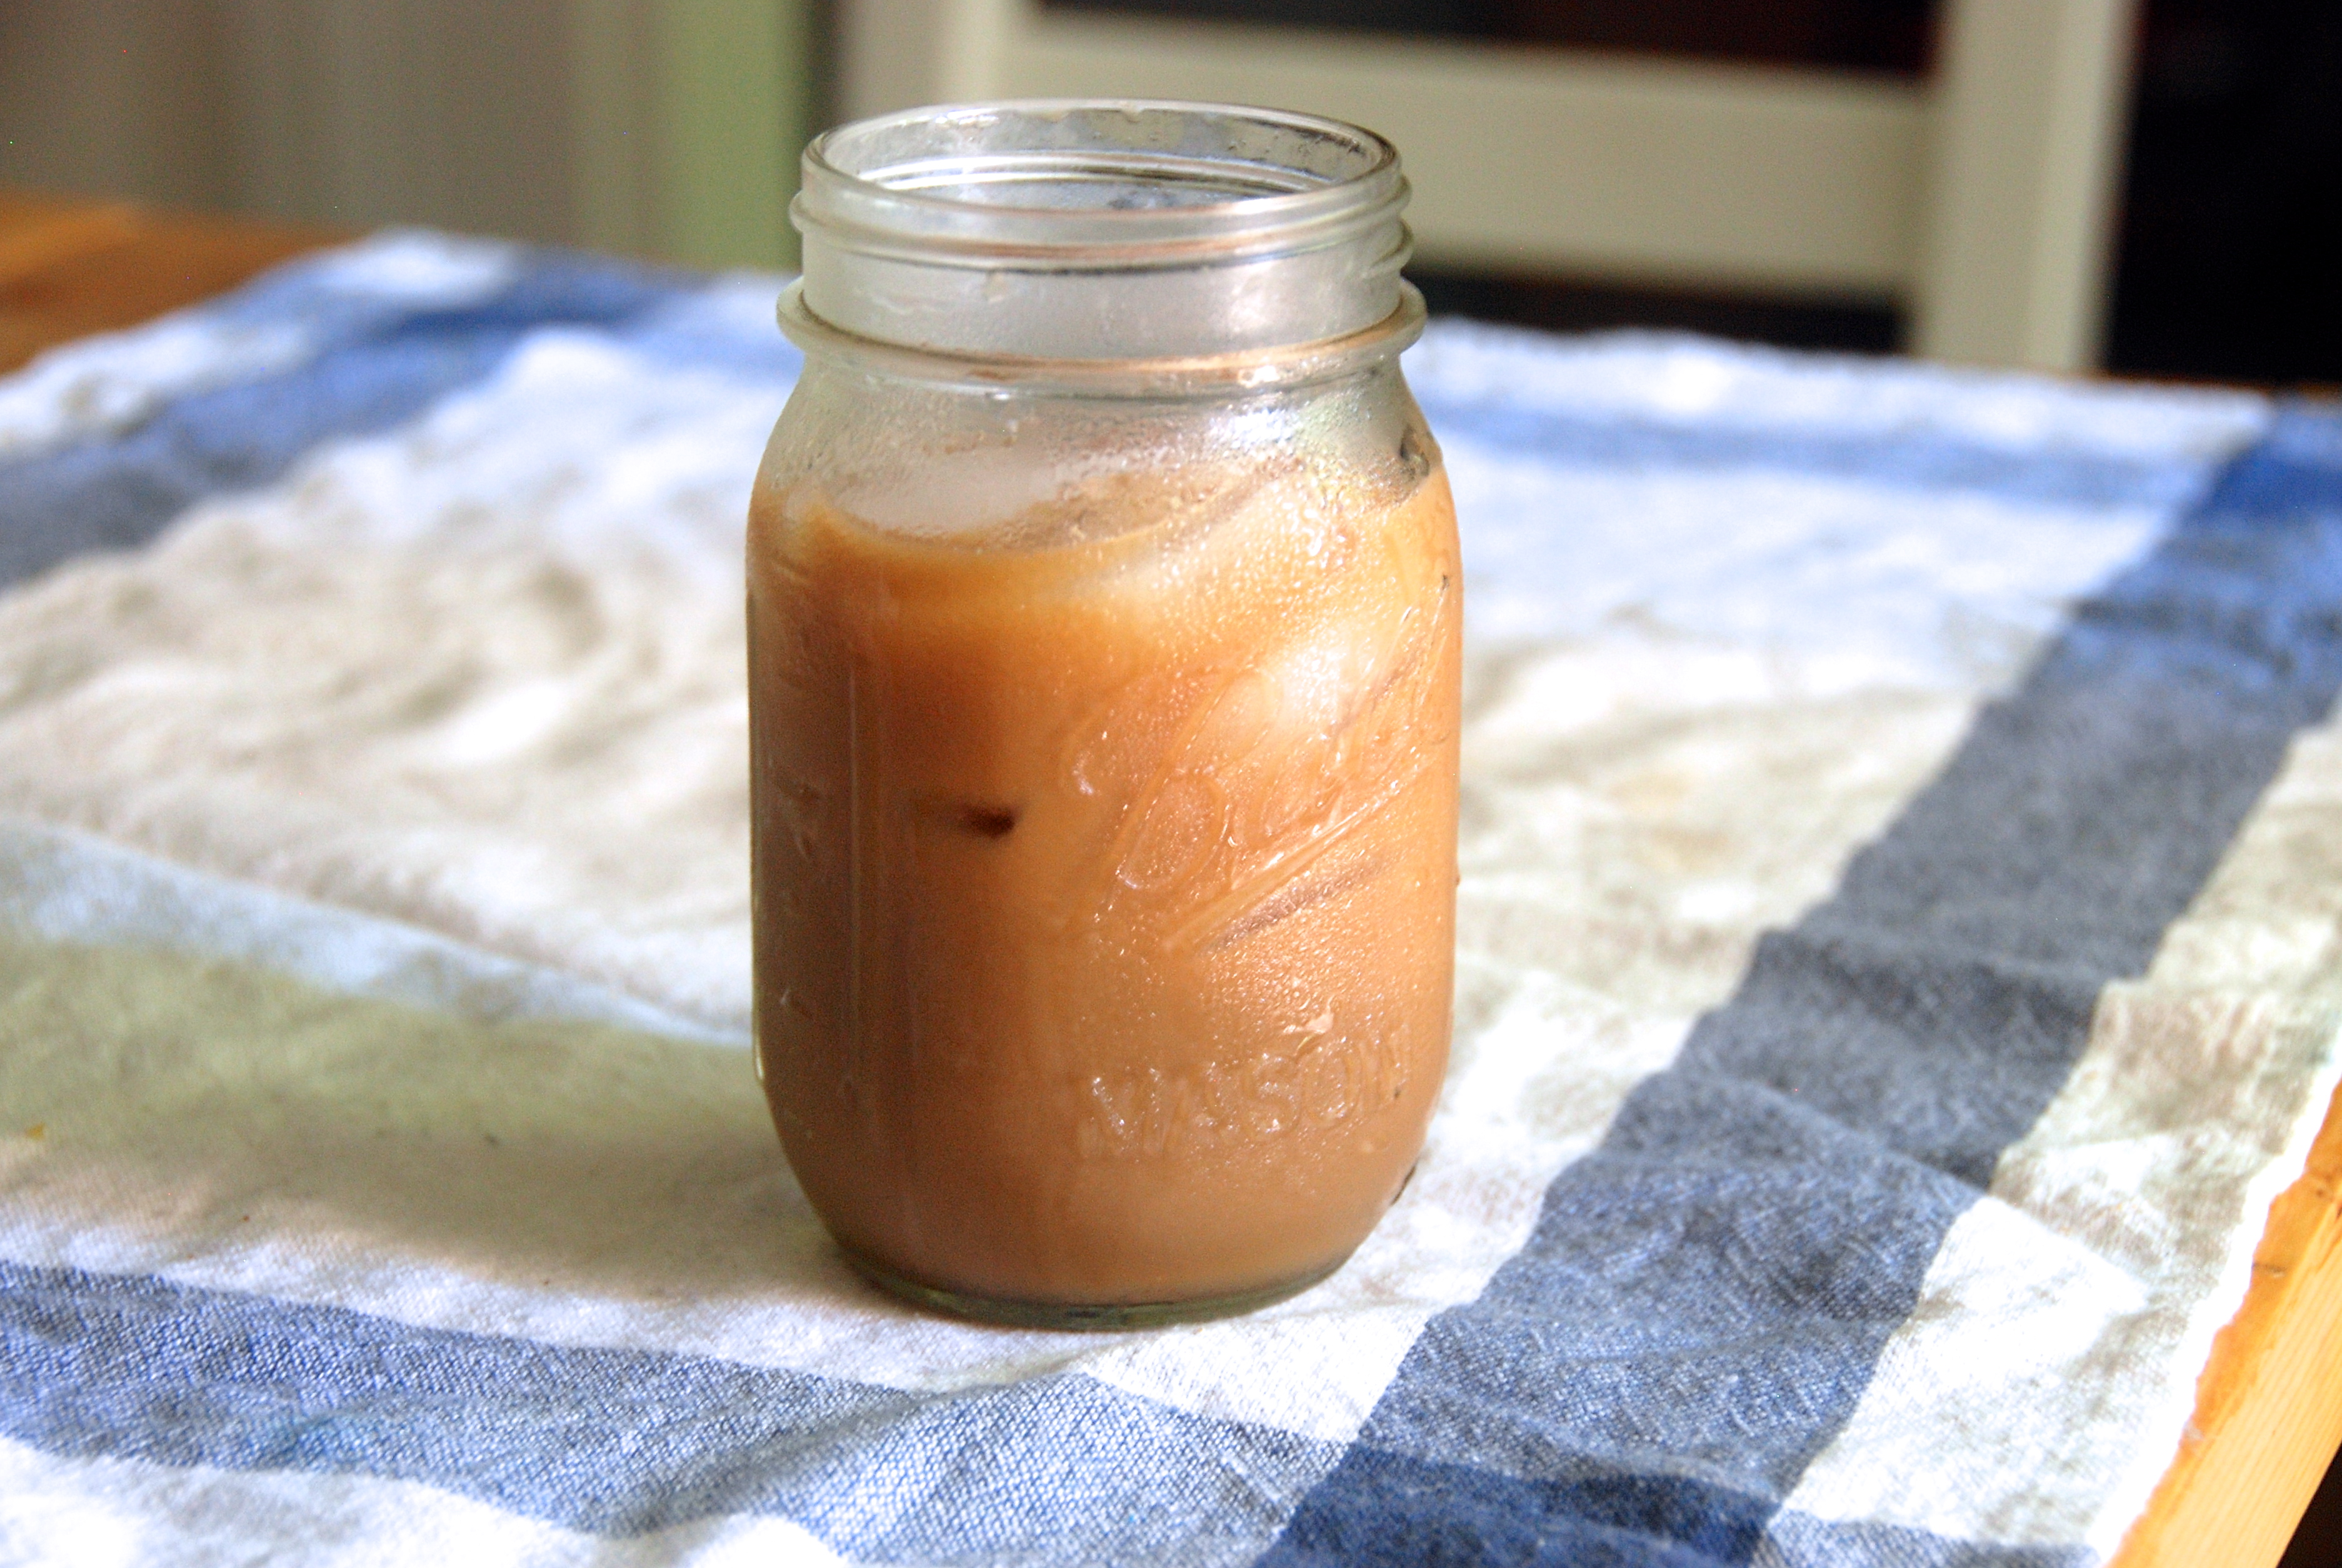
4. When it’s all done, store in the refrigerator (and it will keep for some time, at least a week or two). When you’re ready to drink, dilute concentrate with 1-2 parts cold water or milk, depending on your preference, pour over a glassful of ice and serve! (Note: I normally drink my coffee with a generous spoonful of creamer, but diluting this with milk instead of water makes for an amazing latte.)
5. Optional: I find iced coffee much better with simple syrup, since granulated sugar is often hard to dissolve in cold water. Simple syrup is, as the name indicates, incredibly simple — for about 1.5 cups of syrup (which will last forever), bring 1 cup of water to boil, add 1 to 1.5 cups sugar, depending on the sweetness you prefer, and stir until clear. Once the mixture is clear, turn off the heat and remove to cool, and store in the fridge. I think I use a little less syrup than granulated sugar for the same sweetness, but use your best judgment and add a bit at a time til you figure out the right amount. 🙂
Hope everyone is staying cool! As always, thank you so much for reading.



Anonymous
A French press works great for this!
Nina dysvick
I am hoping you can help me– to figure out this part thing?? I understand that you need to know how many oz you want to make- my brain does not work in parts! I just need to know how many tablespoons to oz of water to make a cold brew latte? Then I can understand an change the amount I want to make for further use:)
JoanneWhiting
I would like to give you 10/10. Nice drink. I always go for iced coffee rather than the normal one.
ZIDANE
this article is very useful, thank you for making a good article